Mistakes Were Made, But Lessons Learned
and making the Bob Wiley of cookies wasn’t all that bad
Welcome to another edition of Baked w/ Nick! Unlike previous weeks, where things turn out pretty much perfectly despite my inexperience and lack of things like a stand mixer and food processor, this week I failed in pretty much every way possible.
I failed so hard that when both things were done I called my fiancee and sounded like Dr. Leo Marvin after his failed Good Morning America taping.

And much like Fay, my fiancee said it wasn’t that bad and I should still write about it because it’s useful to learn from mistakes. She’s right, and in retrospect, both of my failures could’ve been successful if not for a few things going wrong.
So, let’s take a look at what went wrong and how to make it right:
The Great British Baking Show Makes It Look Easy
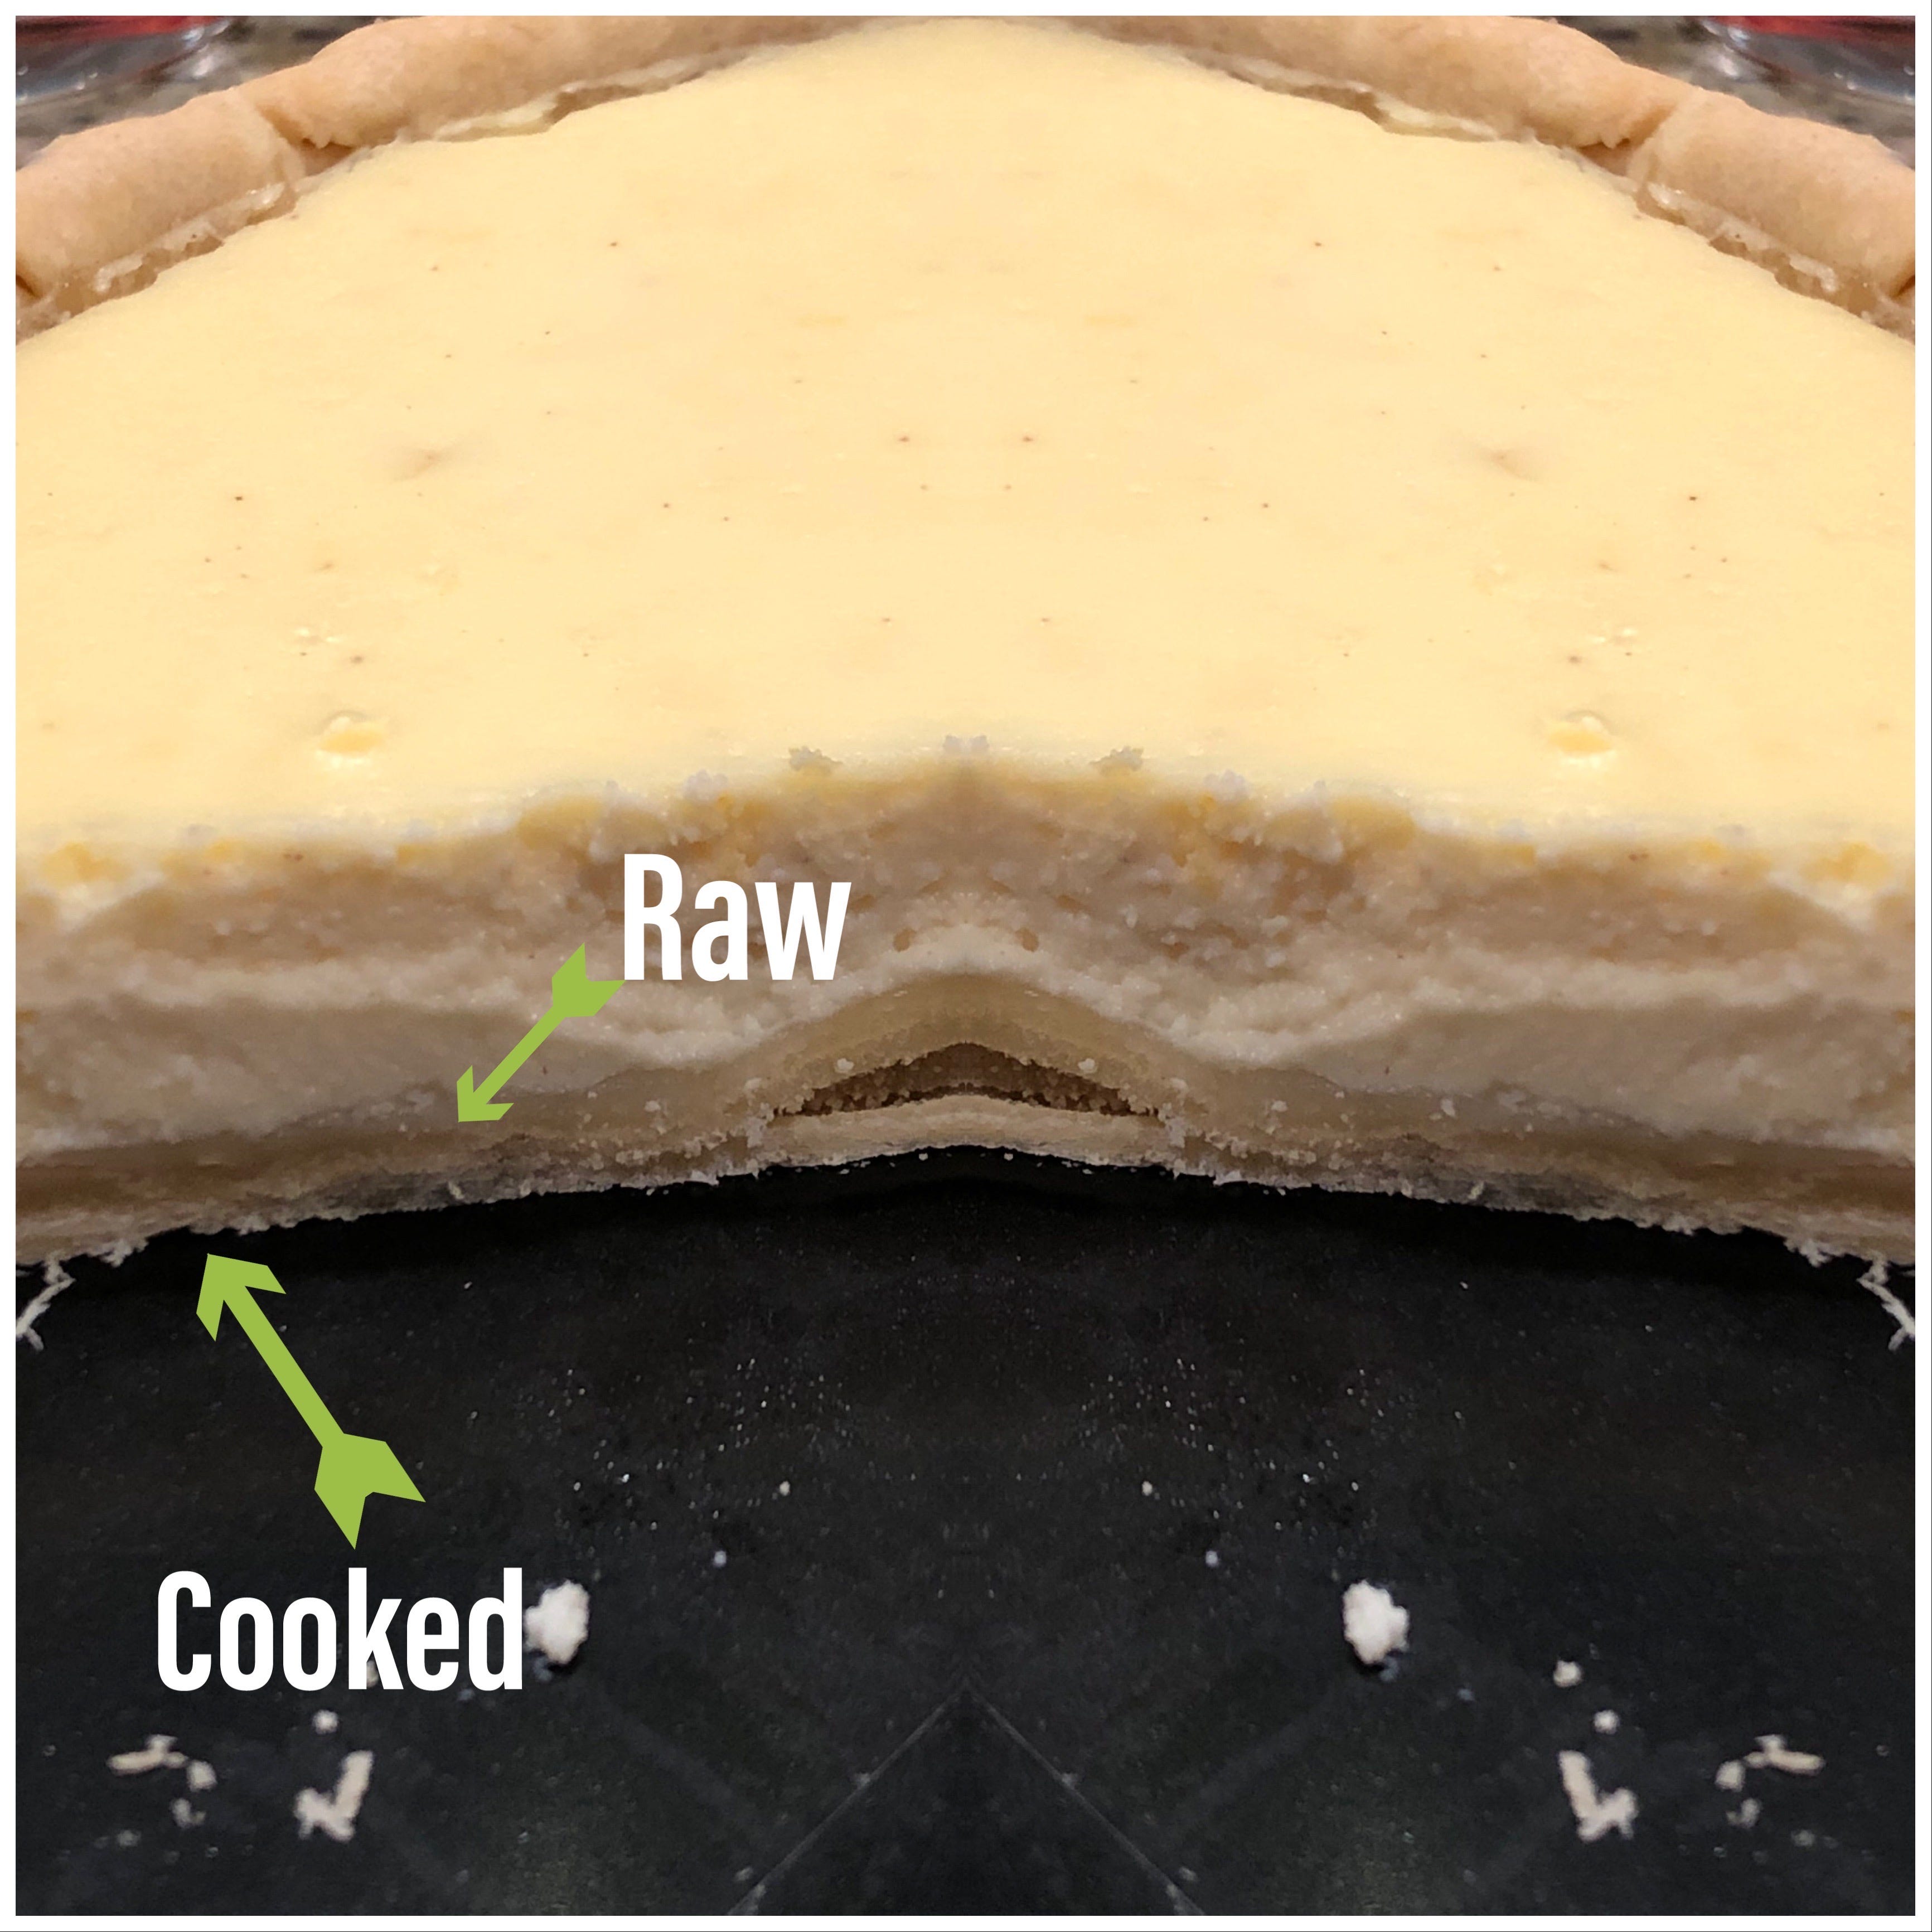
But actually it’s really hard and you need to not only follow the recipe but also have some intuition and knowledge of what you are doing. I came close, but in the end, one fatal error led to a tart with gooey, inedible pastry instead of a perfectly flaky and delicious crust. My mistake? I didn’t blind bake it long enough.
Aside from that, this would’ve been a pretty okay tart! I intended on making a lemon ricotta tart with a shortcrust pastry that was done by hand.
The parts of the crust that was cooked weren’t bad, a little bland, but the filling was delicious and I highly recommend giving it a try despite my failures. You can find a full list of ingredients for the crust and filling here.
Making the Dough
Have you ever seen pasta being made by hand or done it yourself? Making shortcrust dough by hand is essentially the same process (just with more butter). You start with your flour on a countertop, make a well, and deposit your eggs, water, and butter into the center.
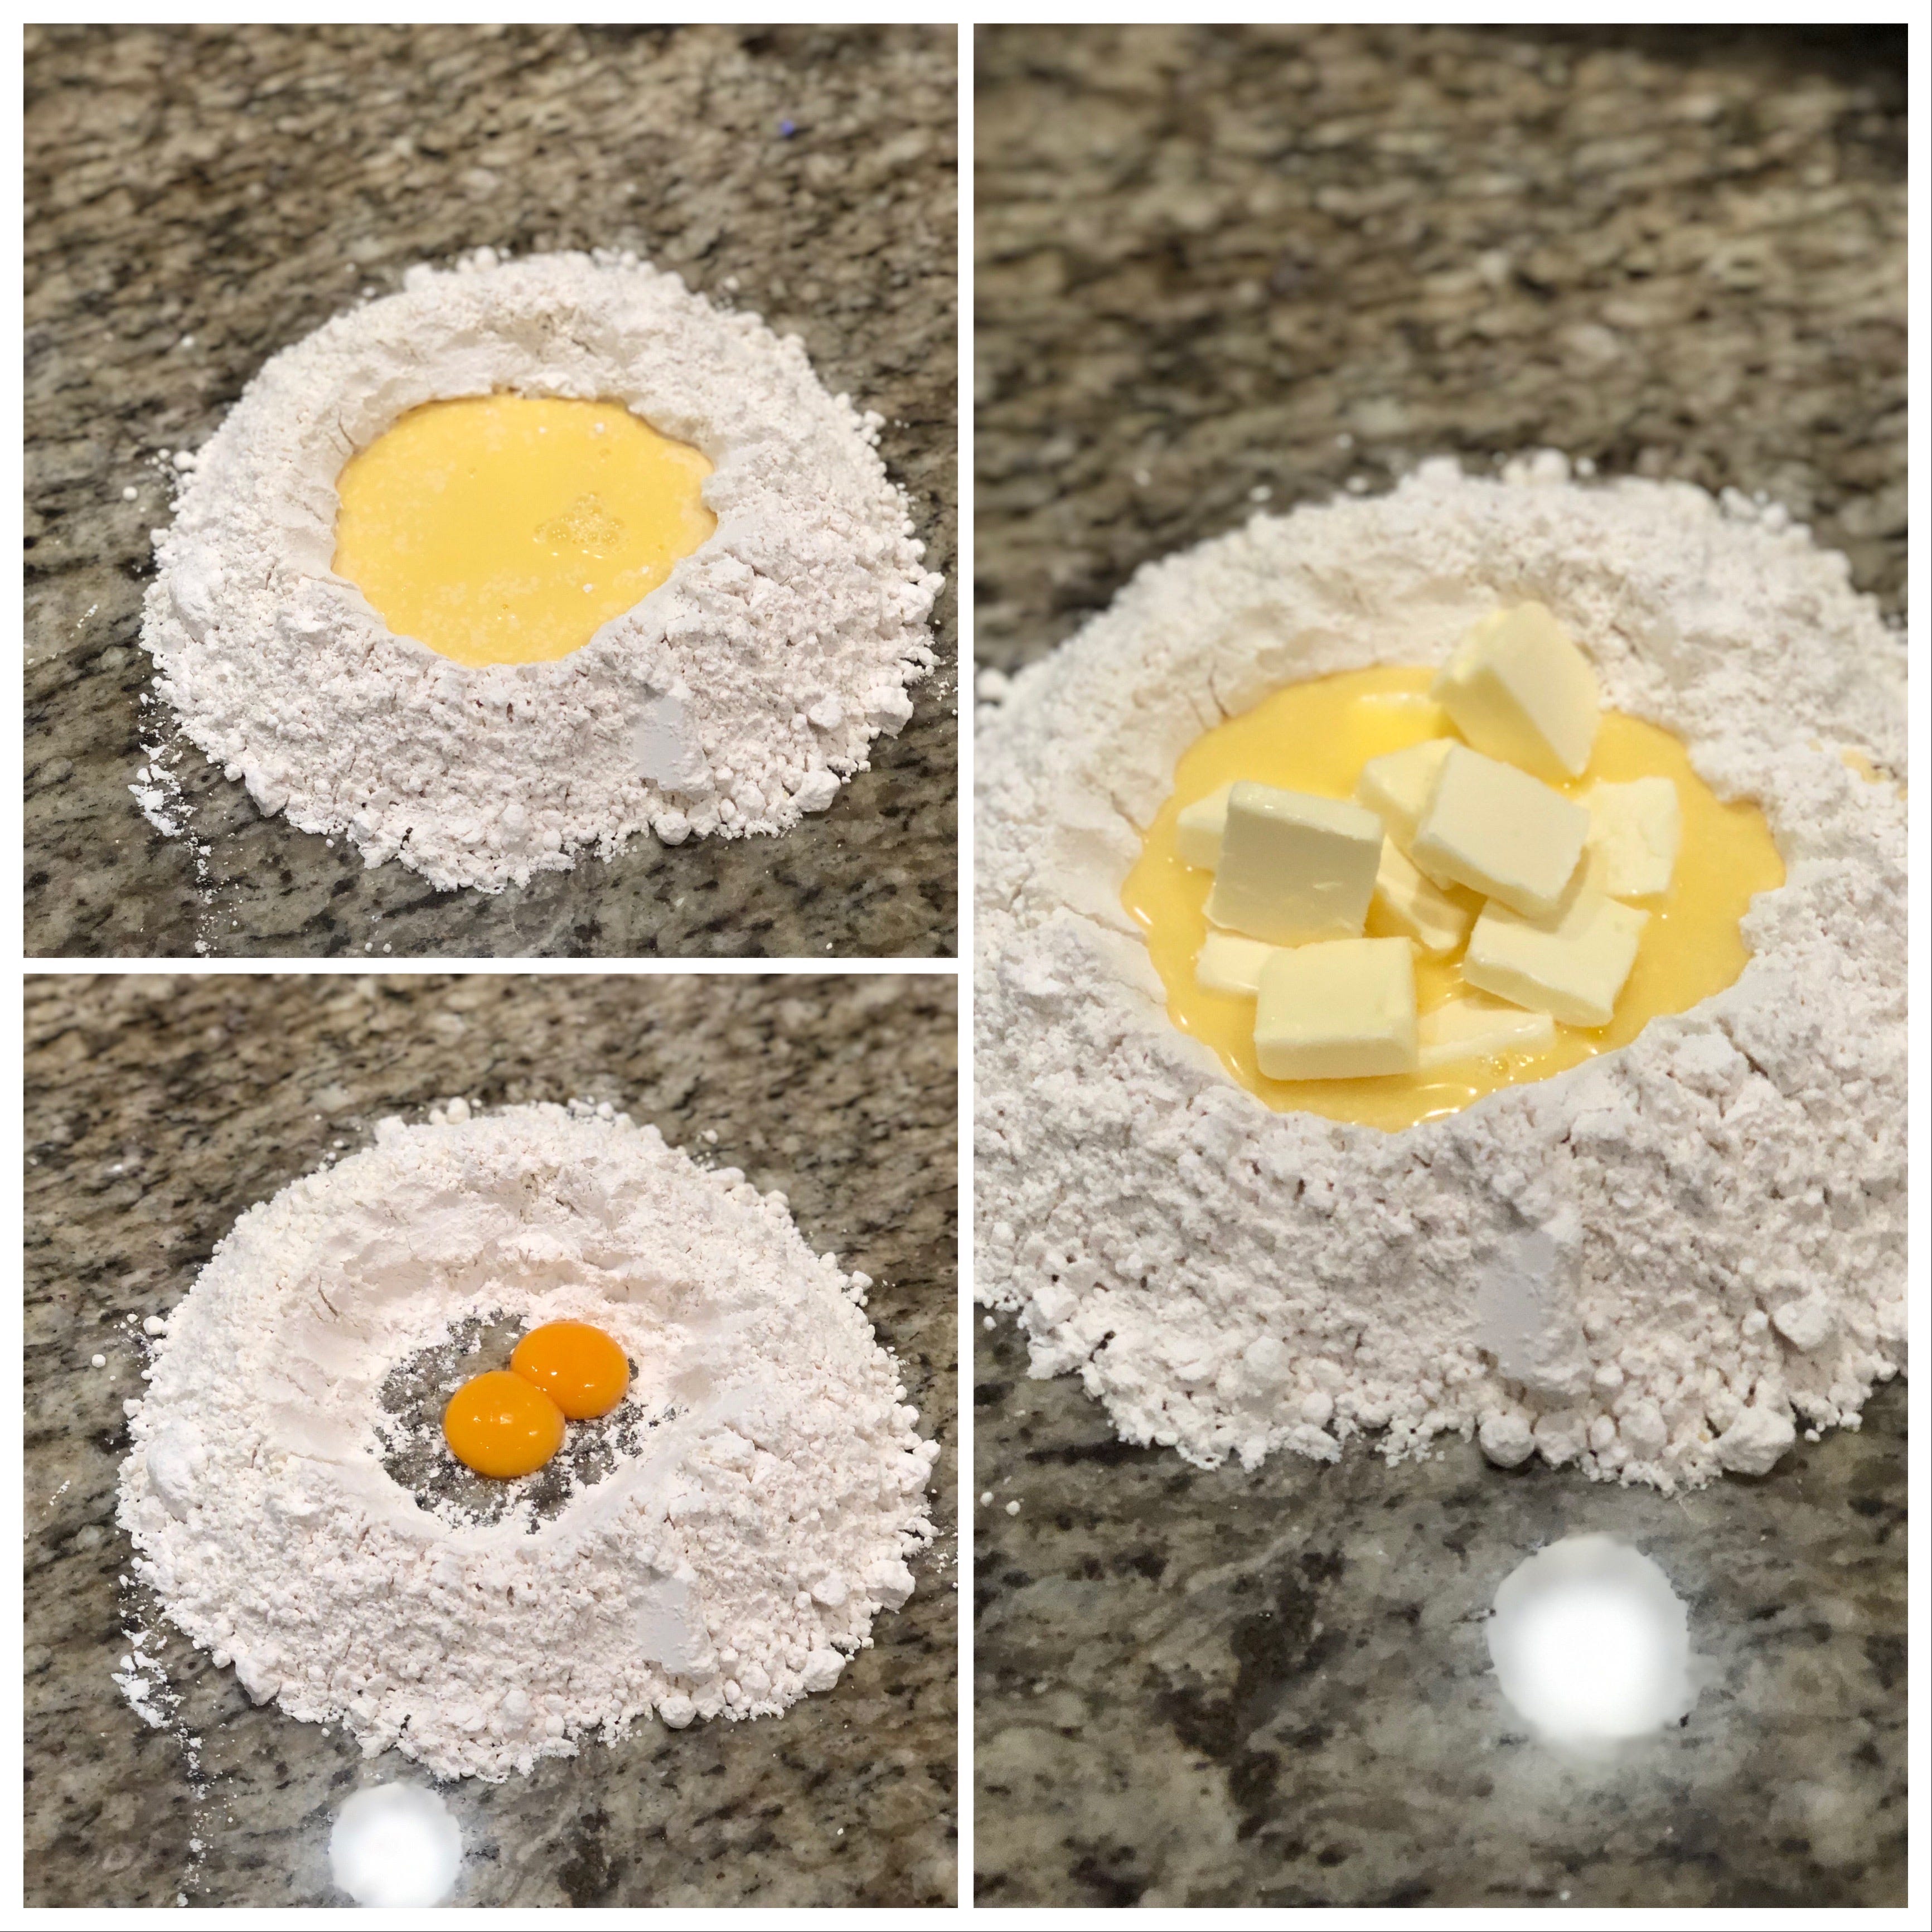
Much like making pasta by hand, the goal is to slowly incorporate the flour into your wet ingredients. If you do it too quickly or severely, the well will break open and you’ll have egg running all over the countertop (this happened to me and for about 10 seconds I was very panicked until I regained my mixture and used a bench scraper).
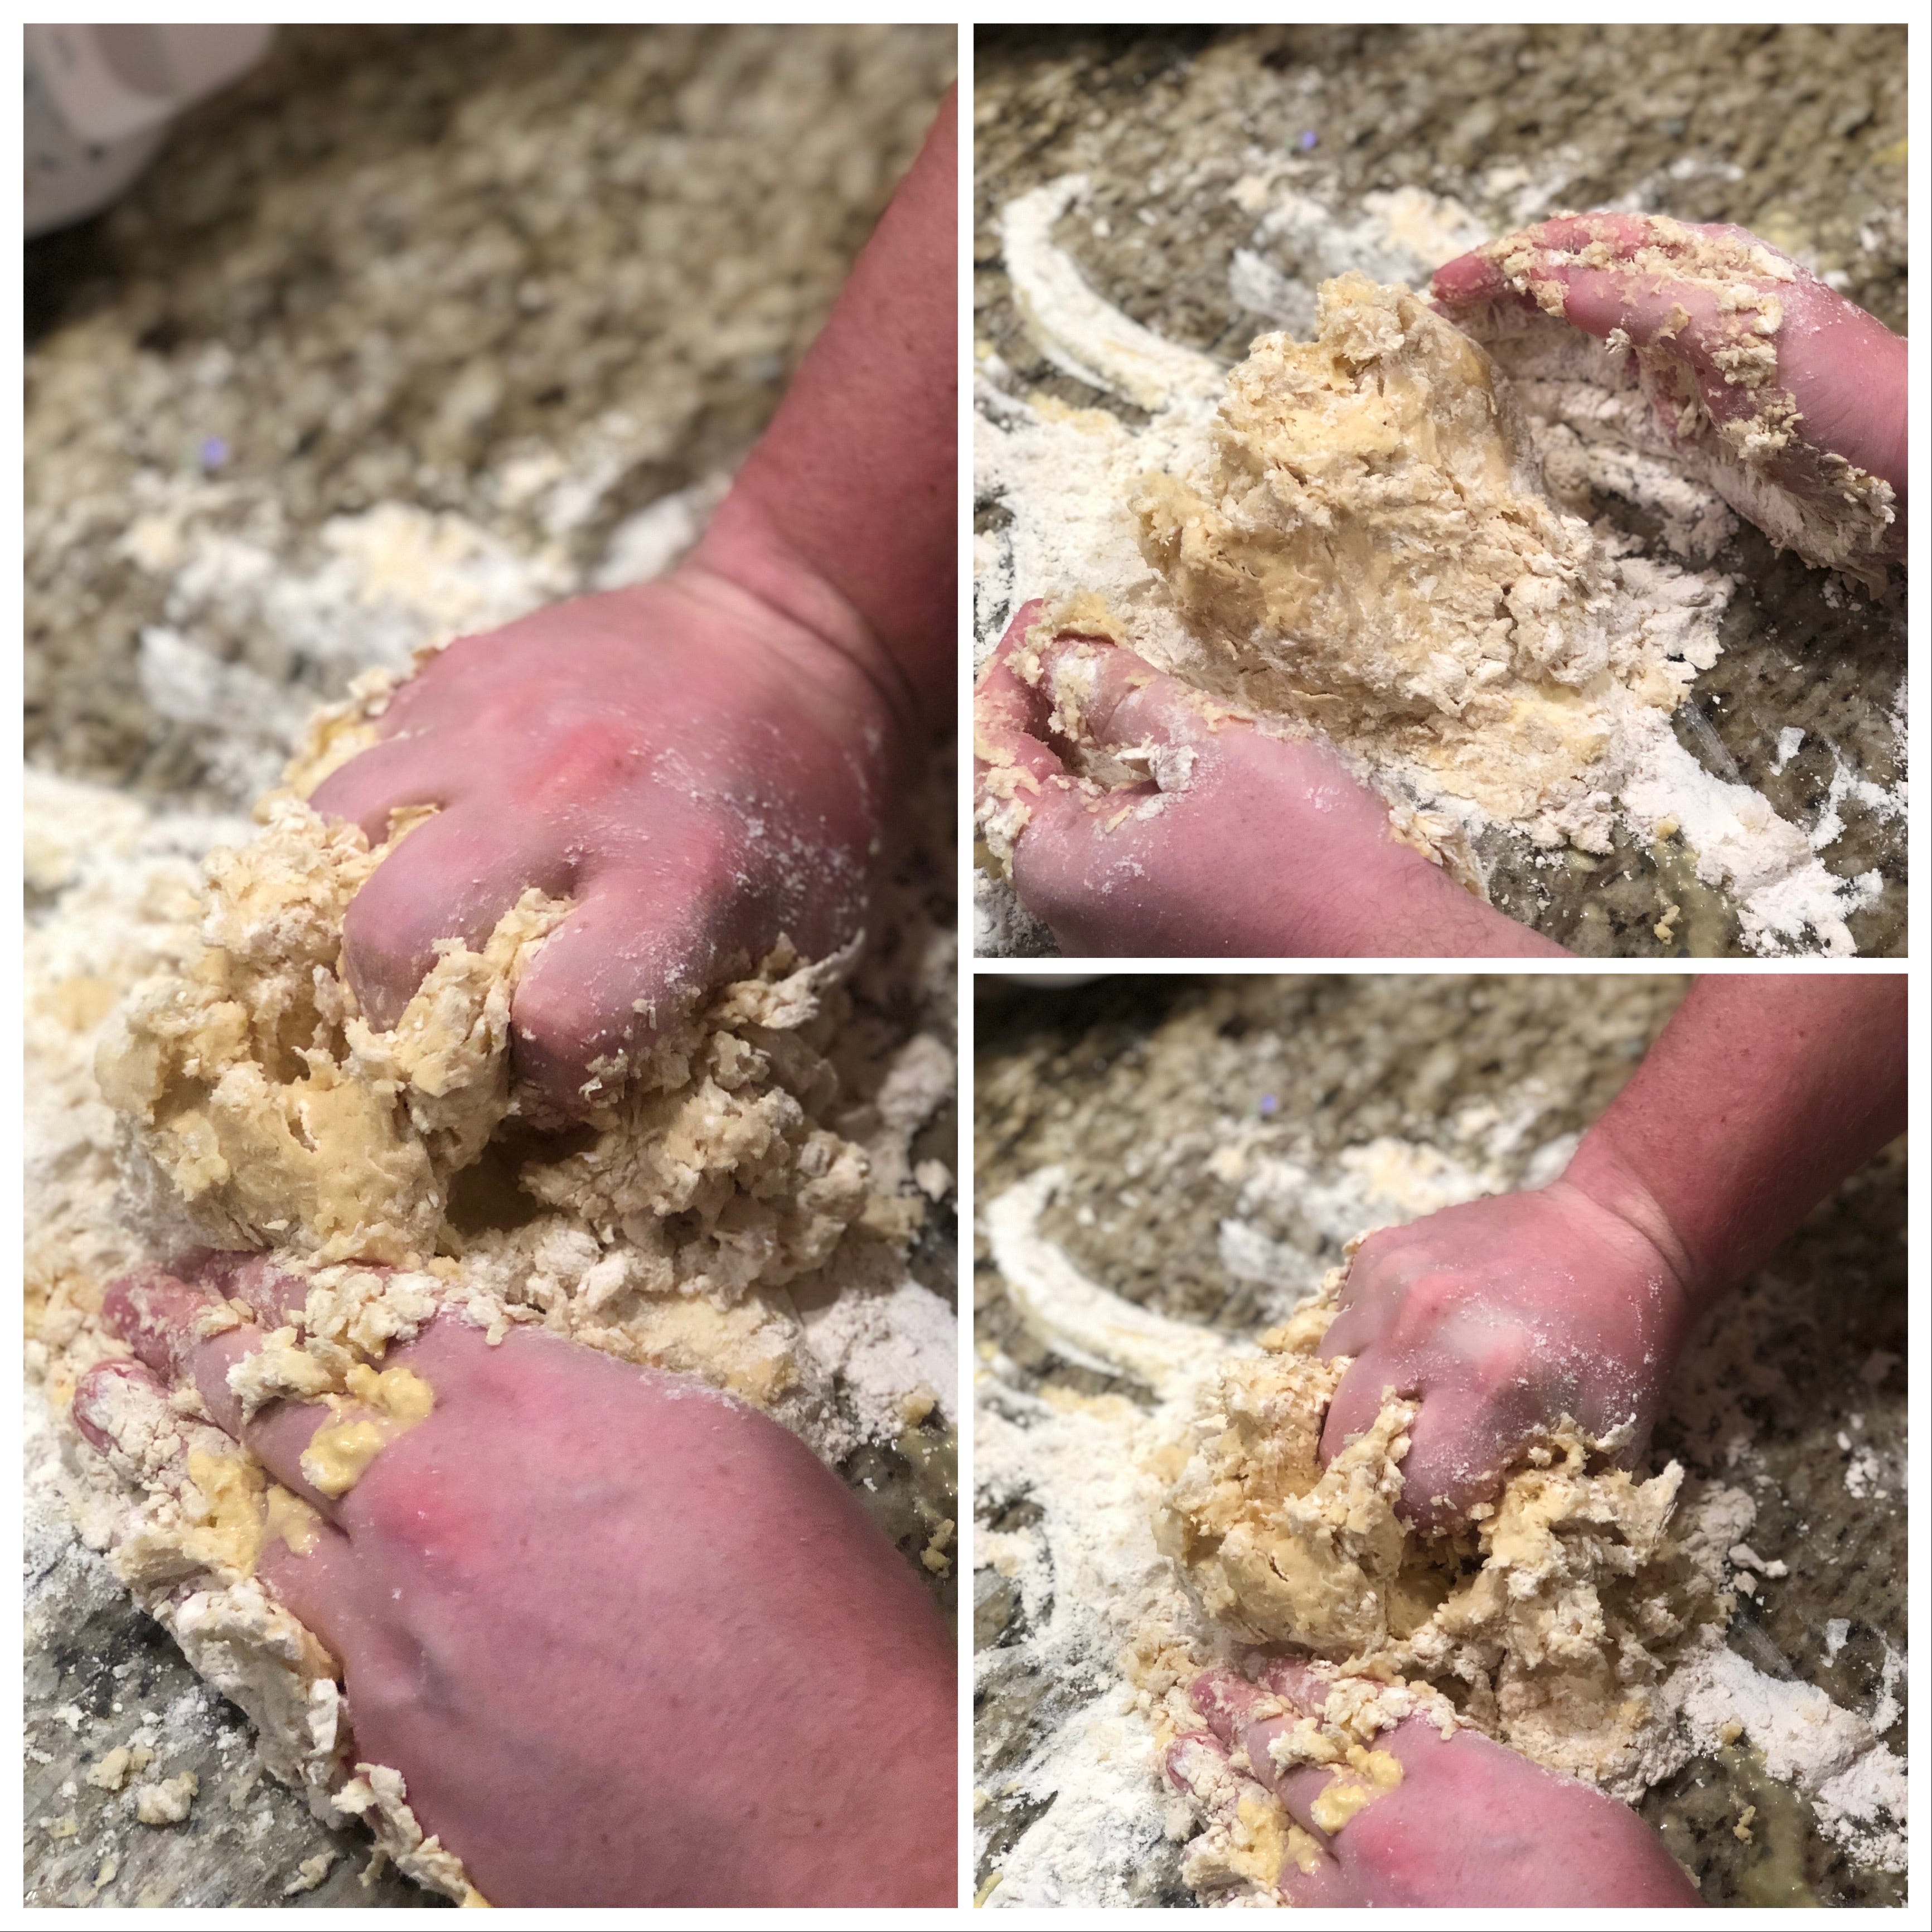
The point of doing this is to fully incorporate the butter into everything in place of a food processor, so you really need to use your hands and squeeze the butter and flour together as the dough forms. I used this video for reference, but you can see how the process unfolded via pictures below:
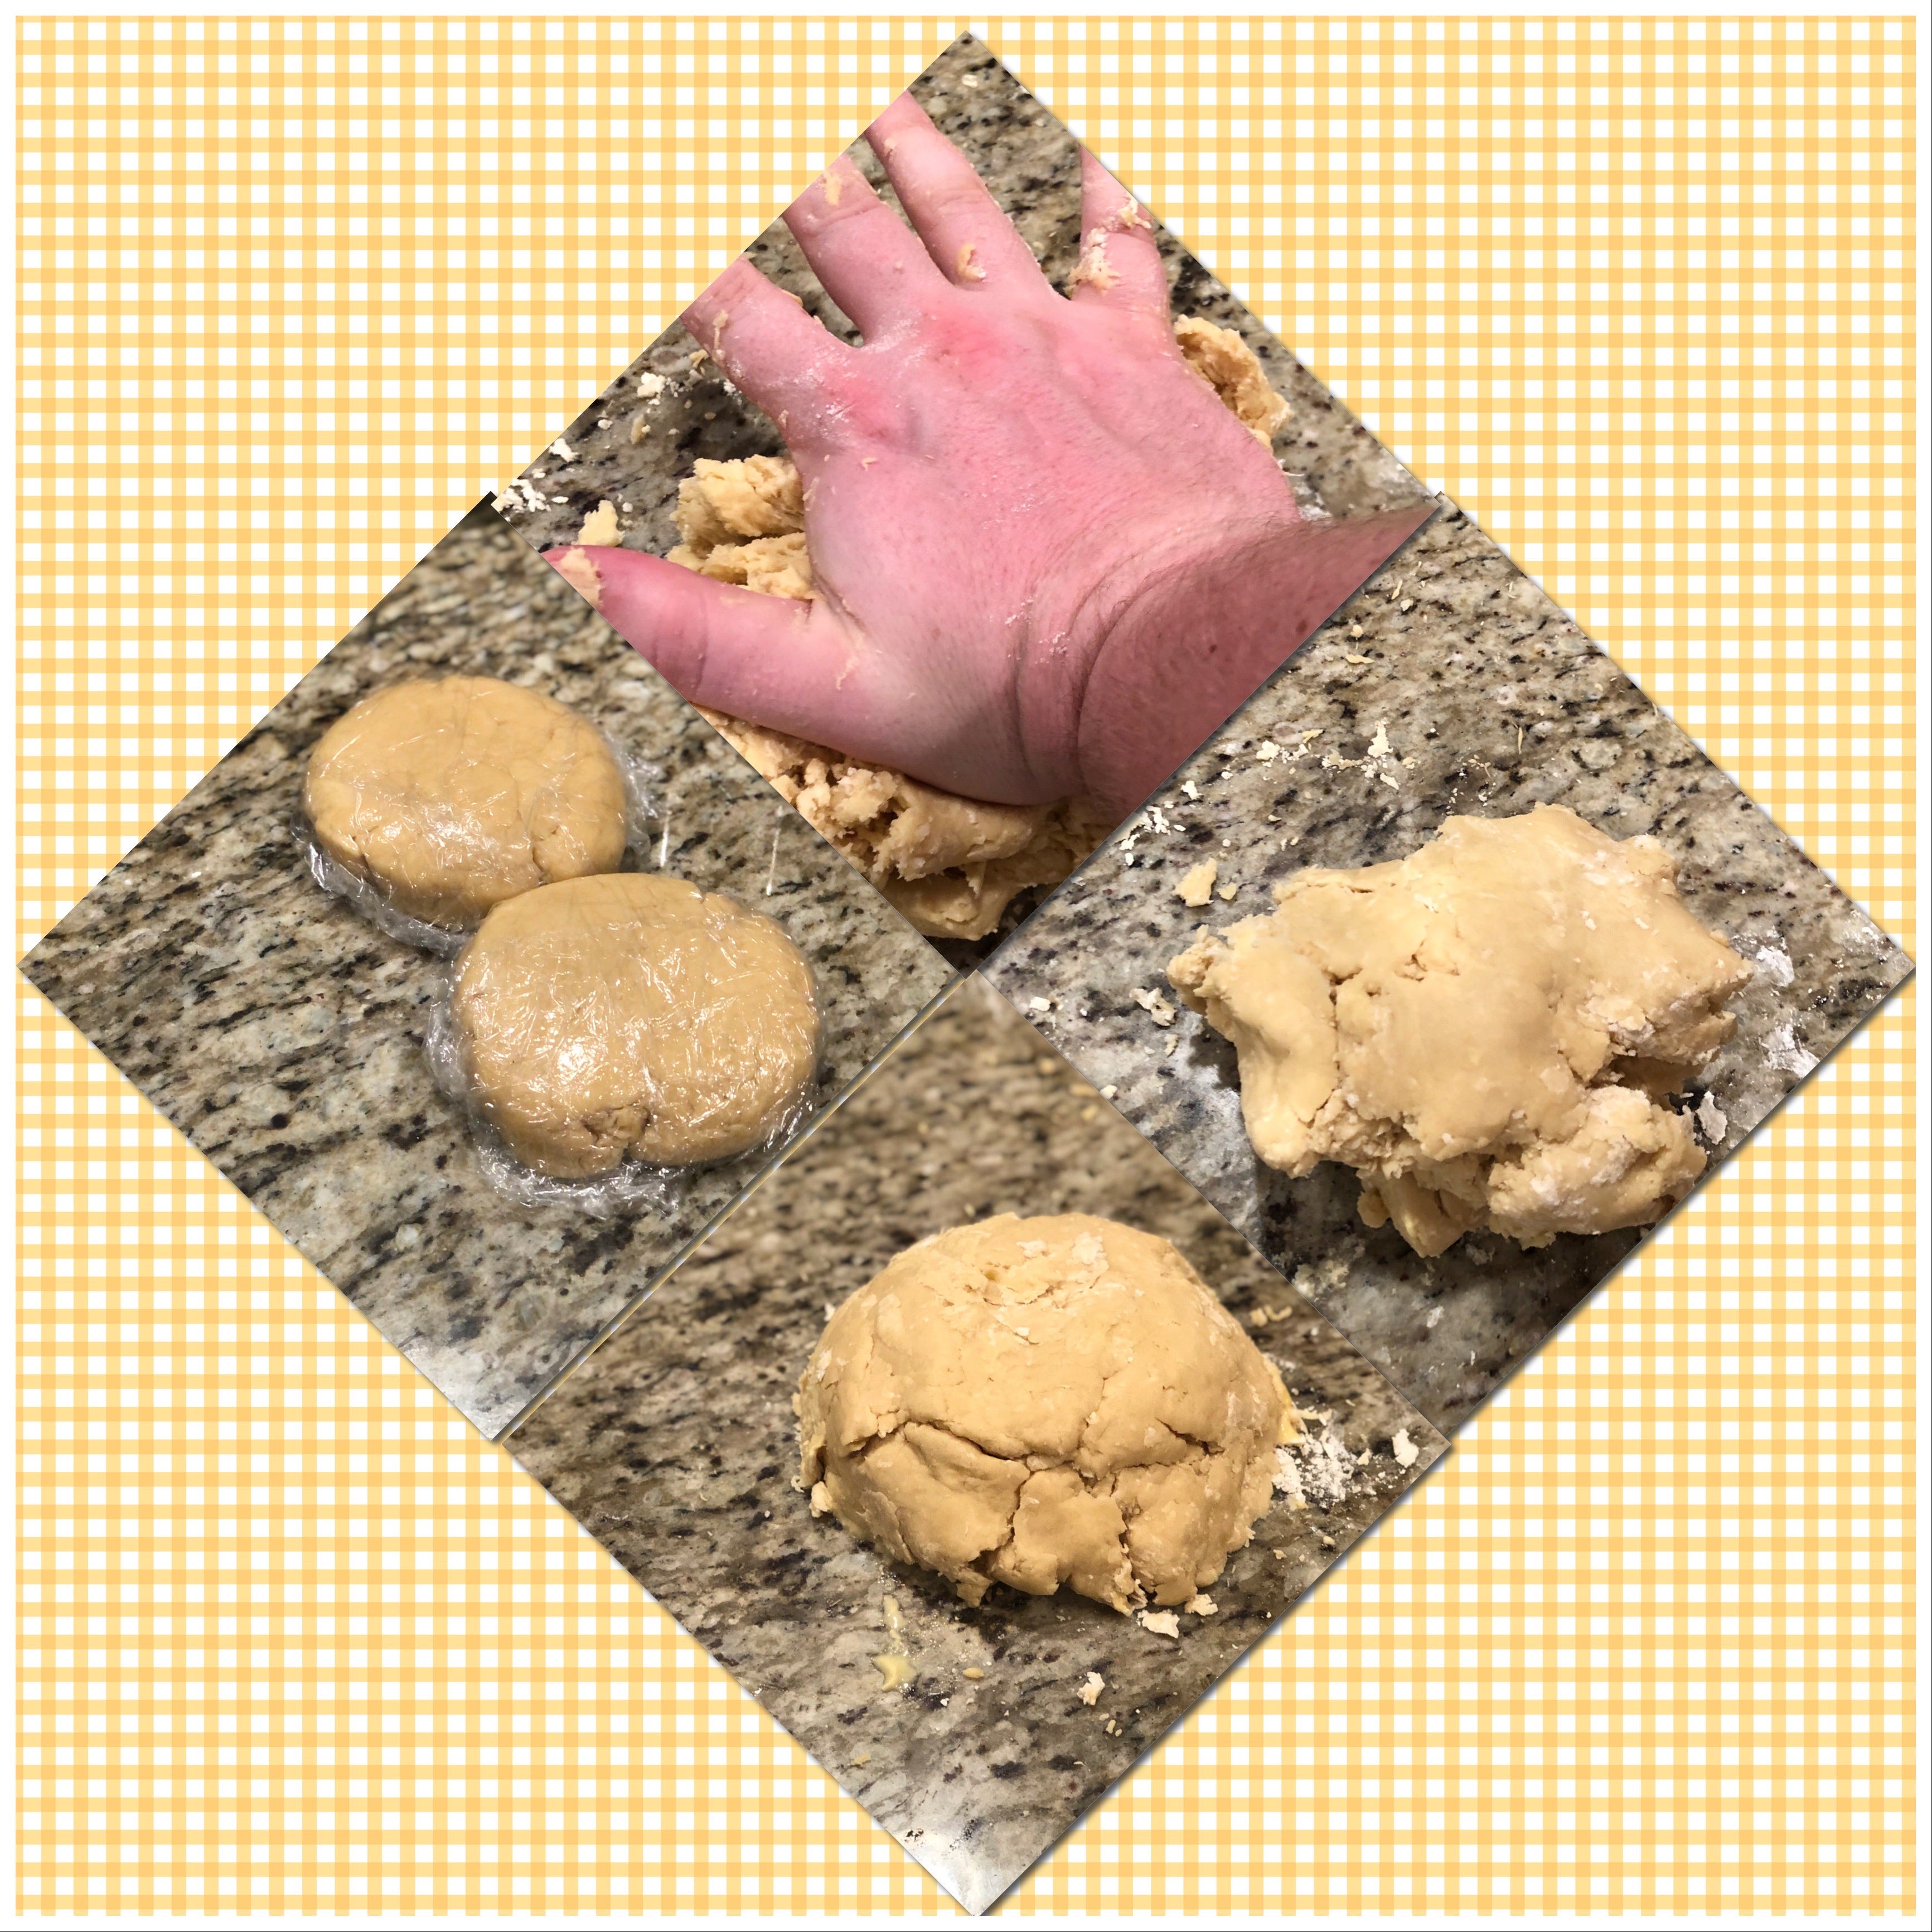
In total, kneading the dough until it was ready to be divided in half (I doubled the recipe) took about 5-7 minutes. It was super fun to handle the dough and I felt extremely accomplished when I put it in the fridge to rest for 2-3 hours.
Rolling, Placing, and Blind Baking
So… I had this part pretty under control until the blind baking part. Once the dough had correctly chilled, I rolled it out to be about ⅜ of an inch thick. It’s not always easy to tell, so just roll it out to be larger than whatever tart pan you are putting this in to.
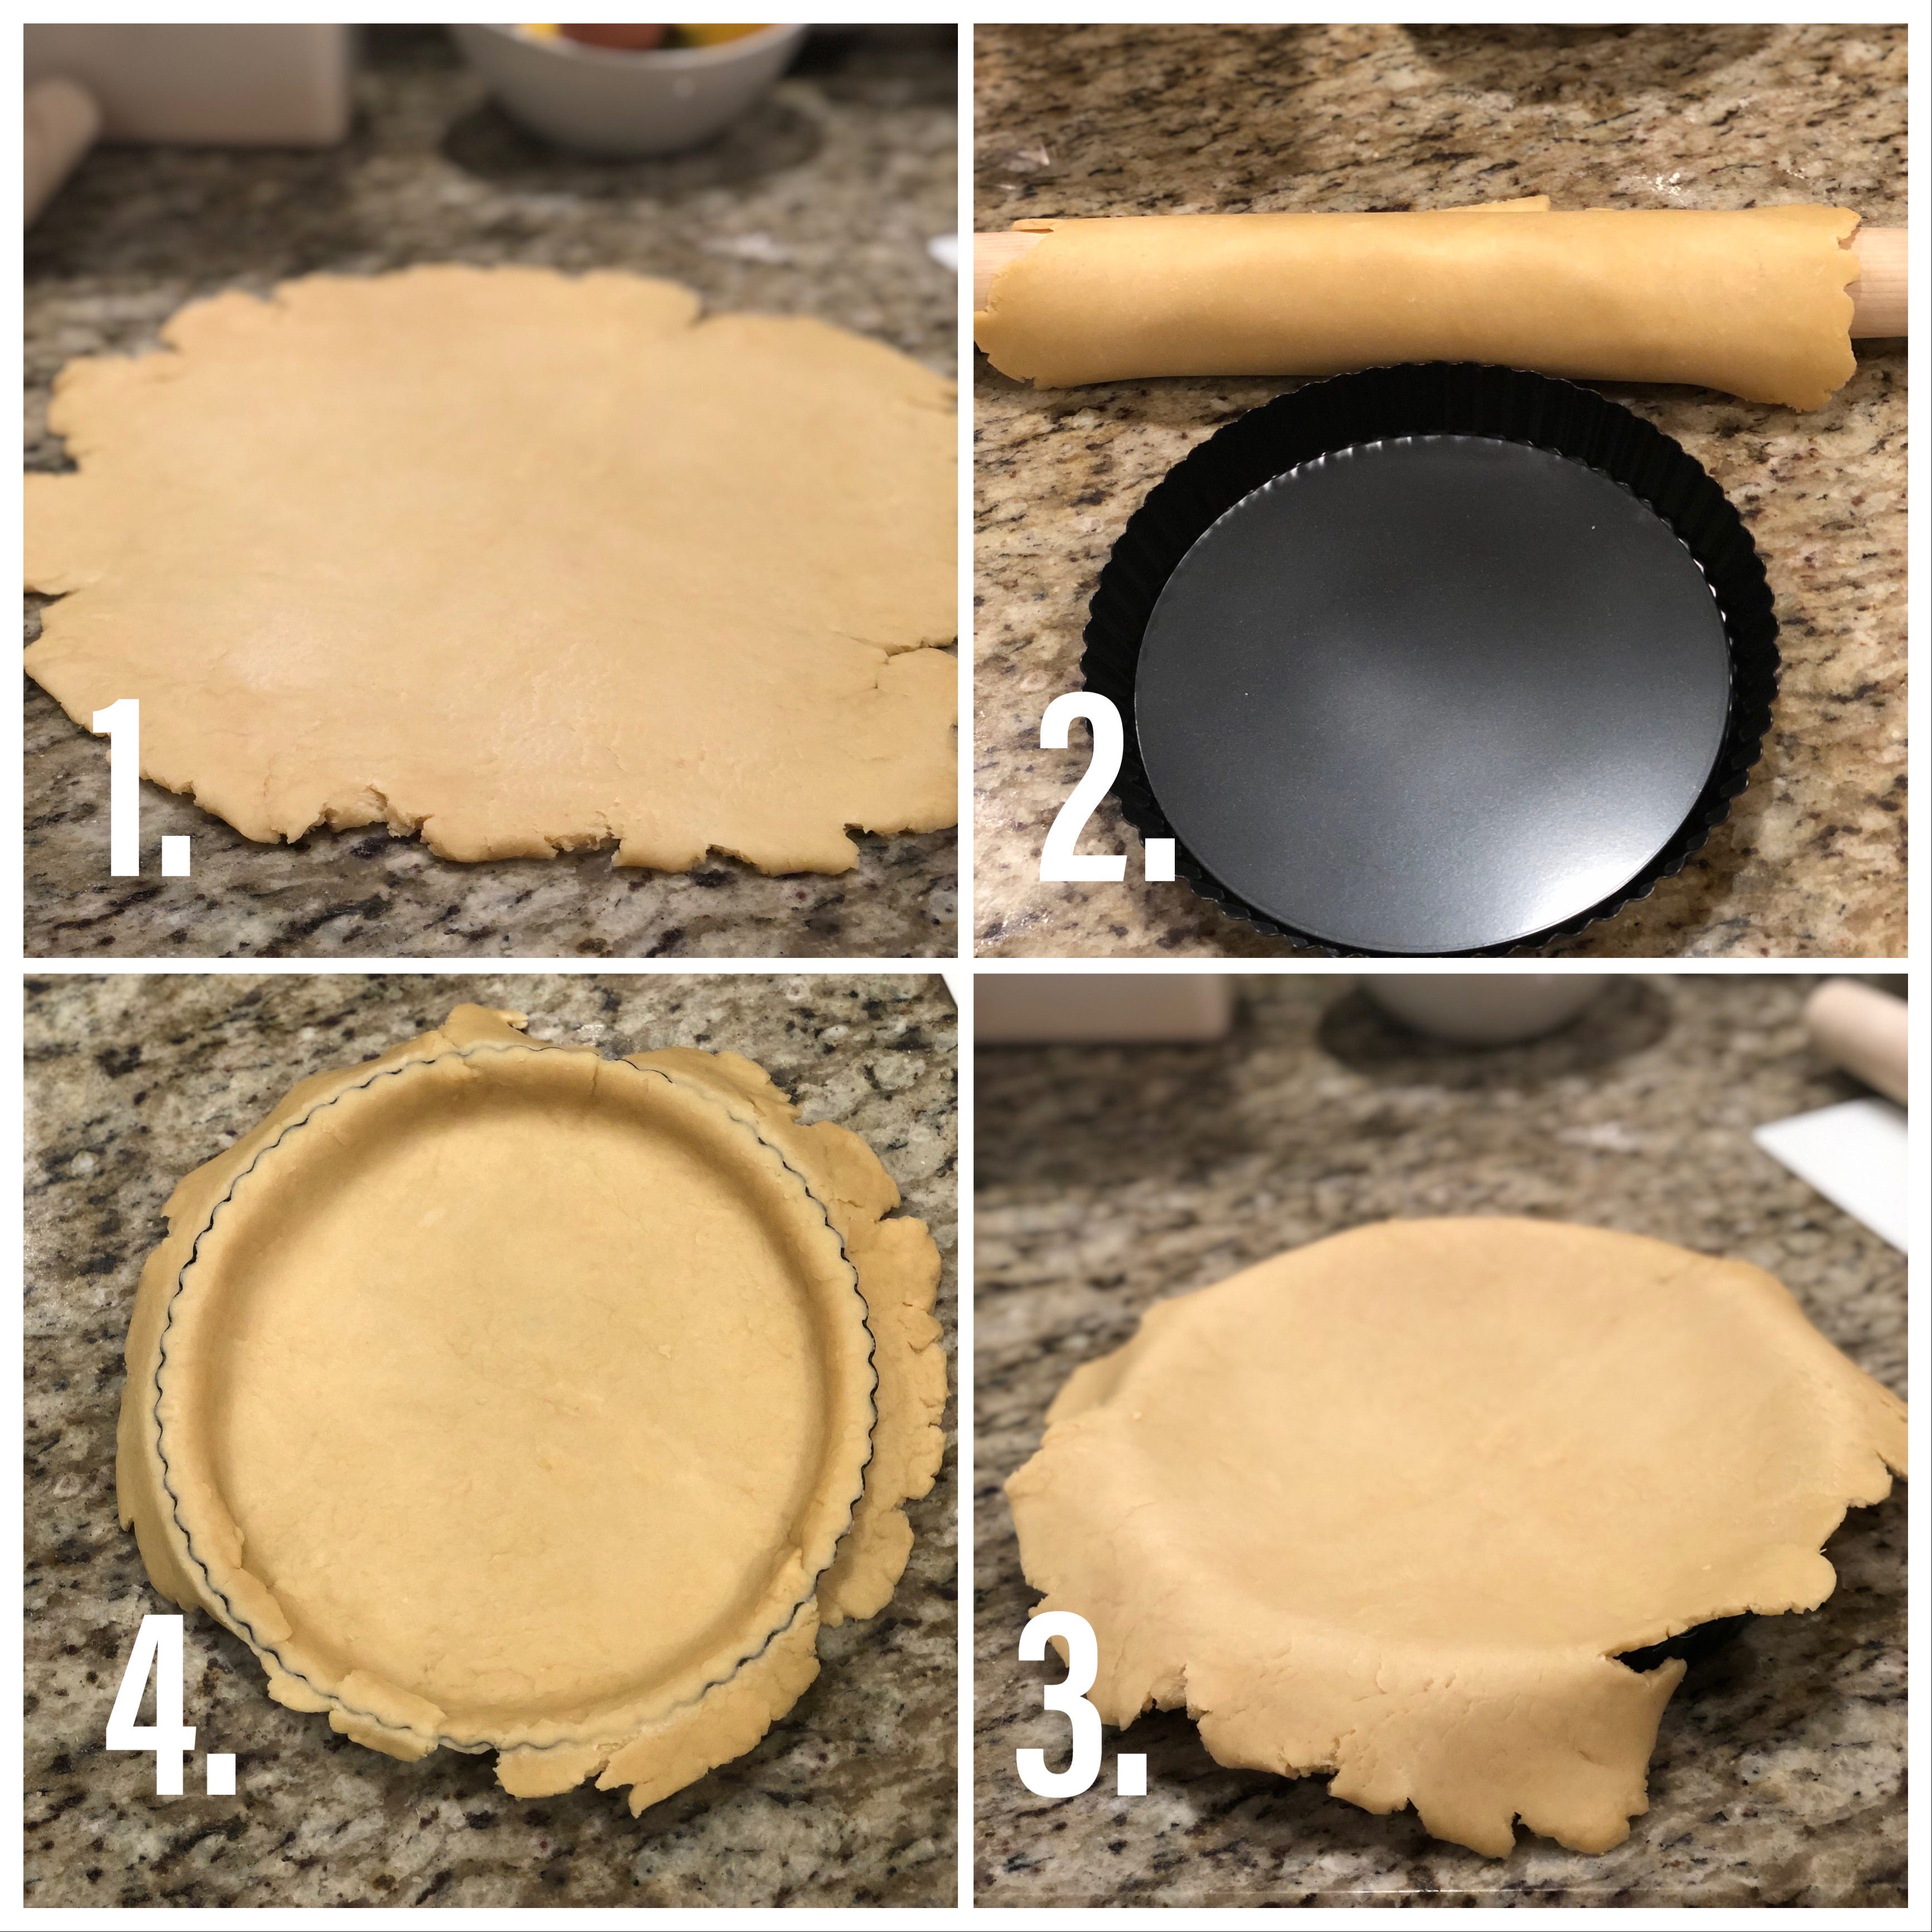
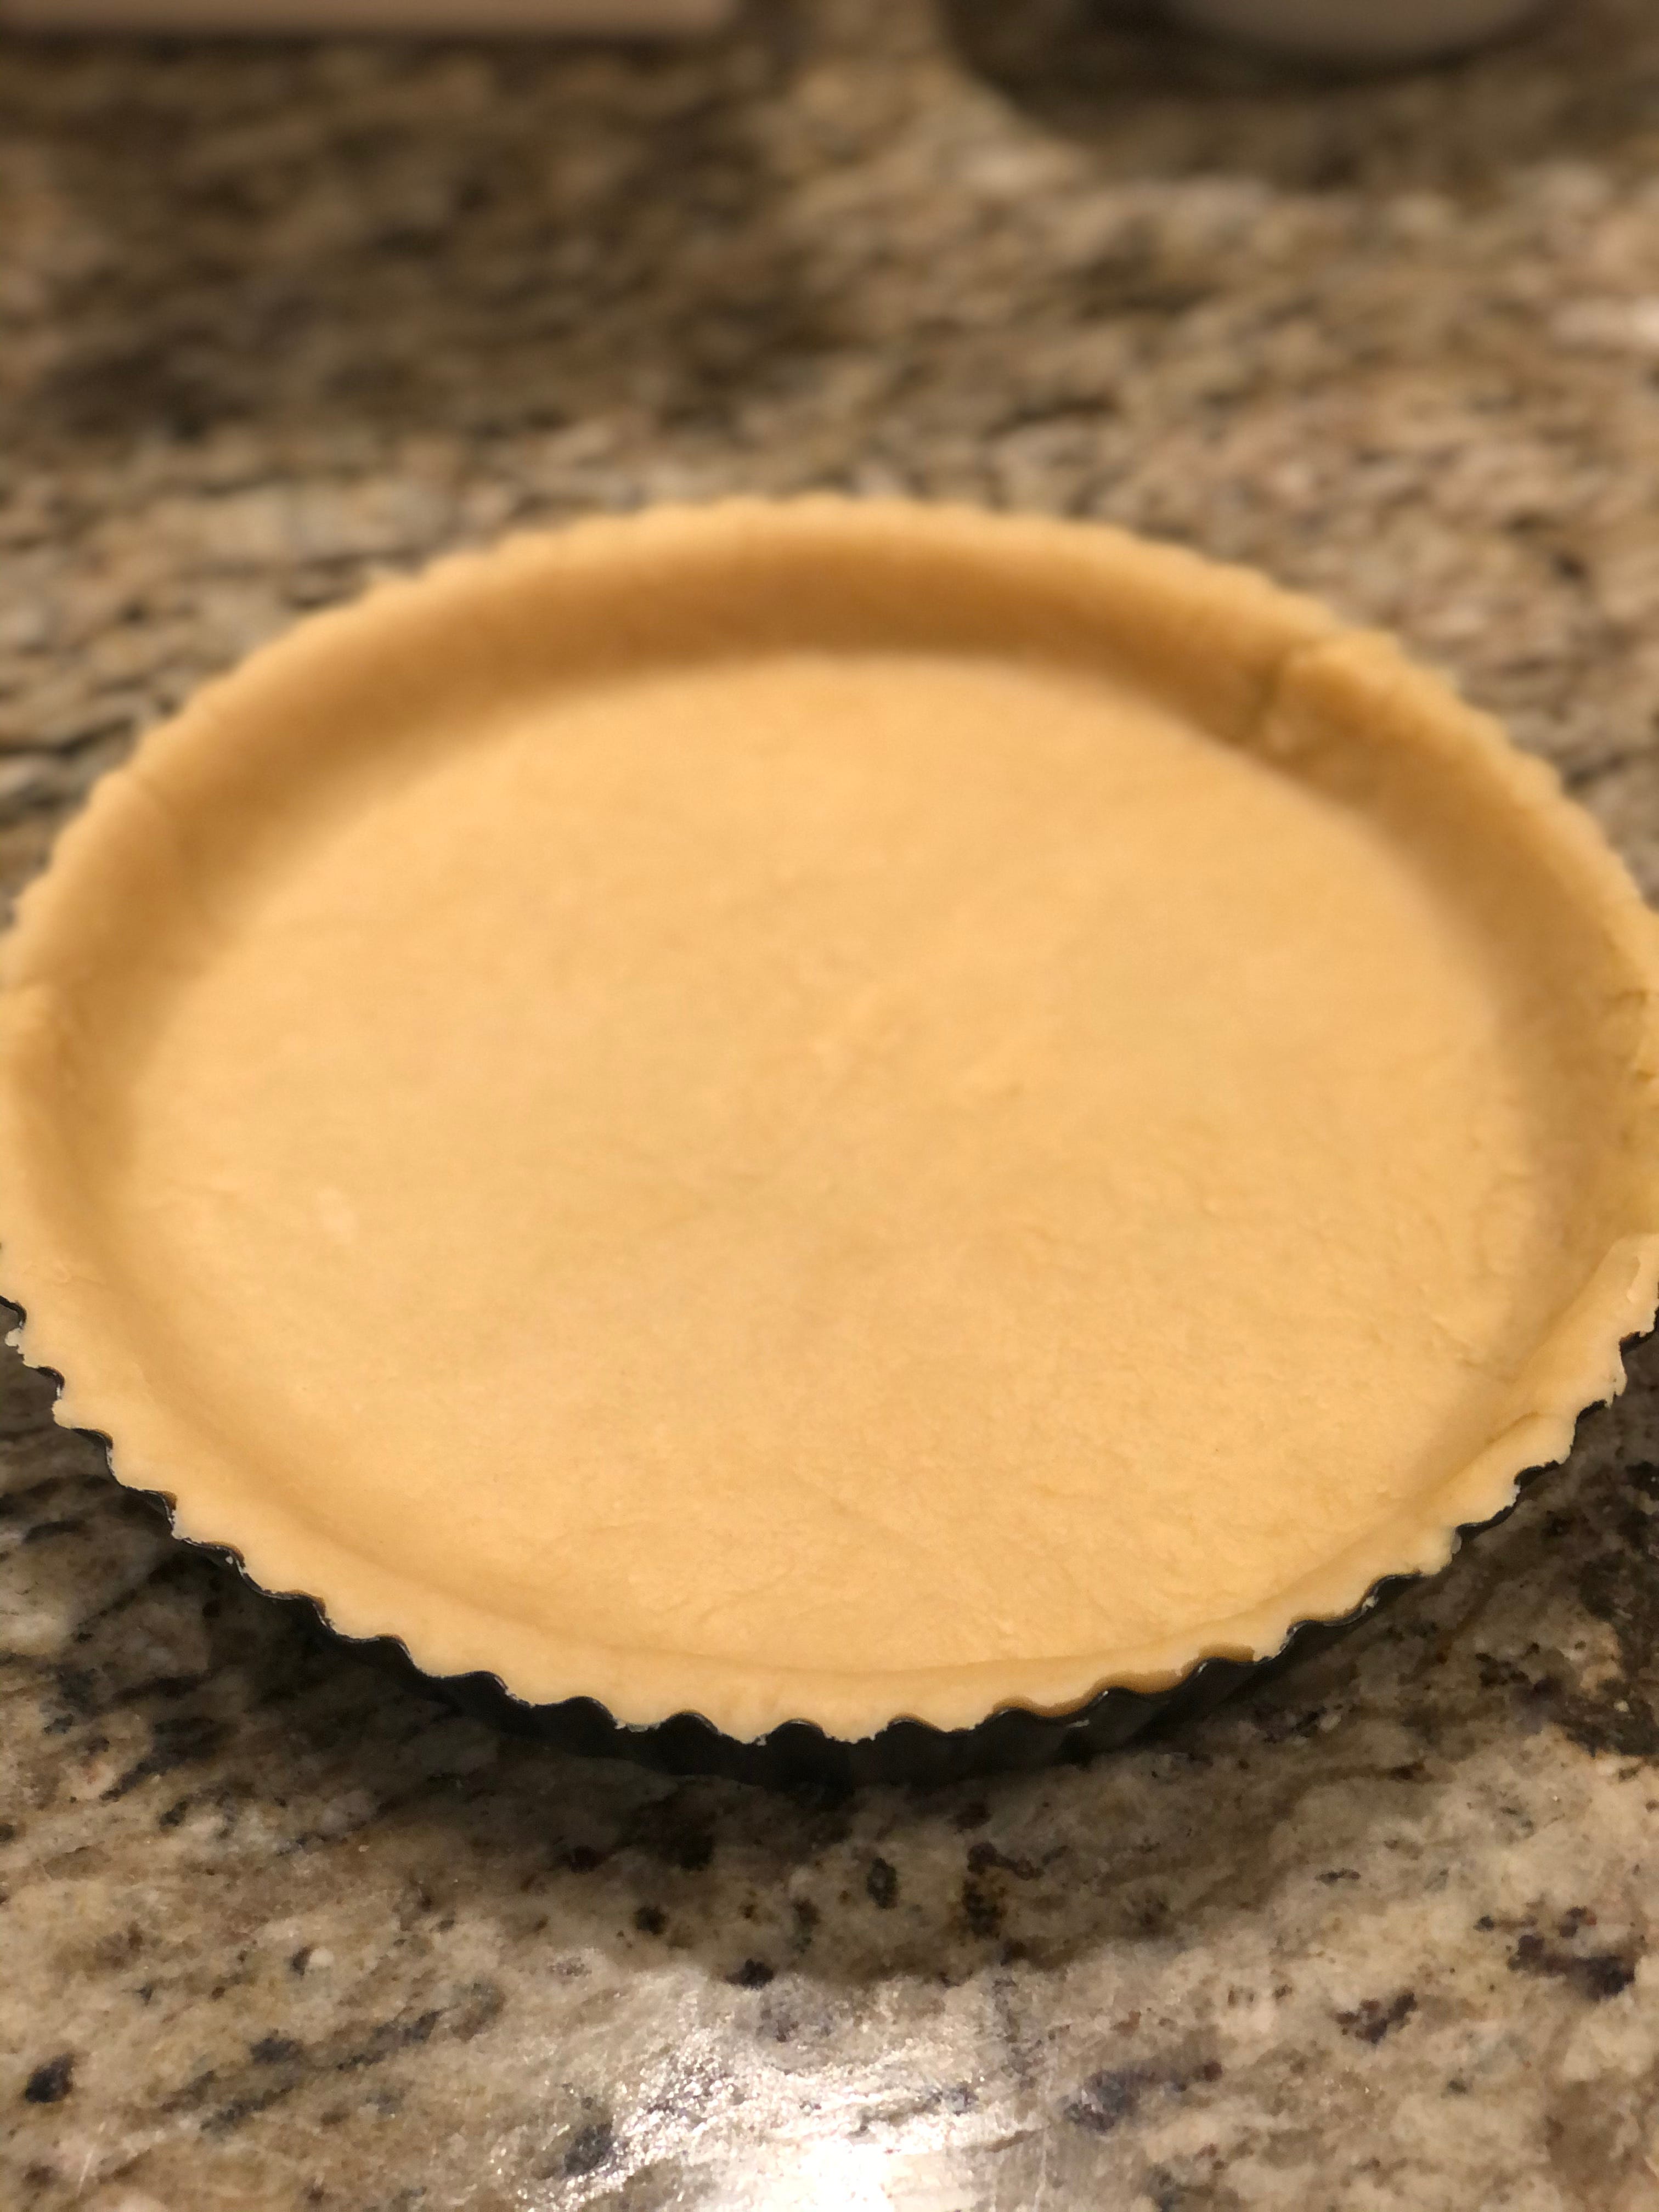
Once it is rolled out, there are many methods to get it into the tart pan. I went with the loosely-roll-it-back-onto-the-rolling-pin method and had success. When you get it onto the pan, be sure to lift it into the corners gently before pressing. If you don’t, you could accidentally puncture your crust.
When I got to the blind baking part of this, I was completely unprepared. I assumed we had some rice on hand to use as a baking weight, but we didn’t so I ended up improvising with some small pot lids and extra foil.
The tart goes into a 325-degree oven to blind bake for... I genuinely don’t know how long. The recipe I took from said 20 minutes, but that wasn’t enough. I’d say it needed another five to ten minutes easy but in this case, I defer to any recipe that calls for the crust to be baked longer than 20 minutes.
Making the Filling
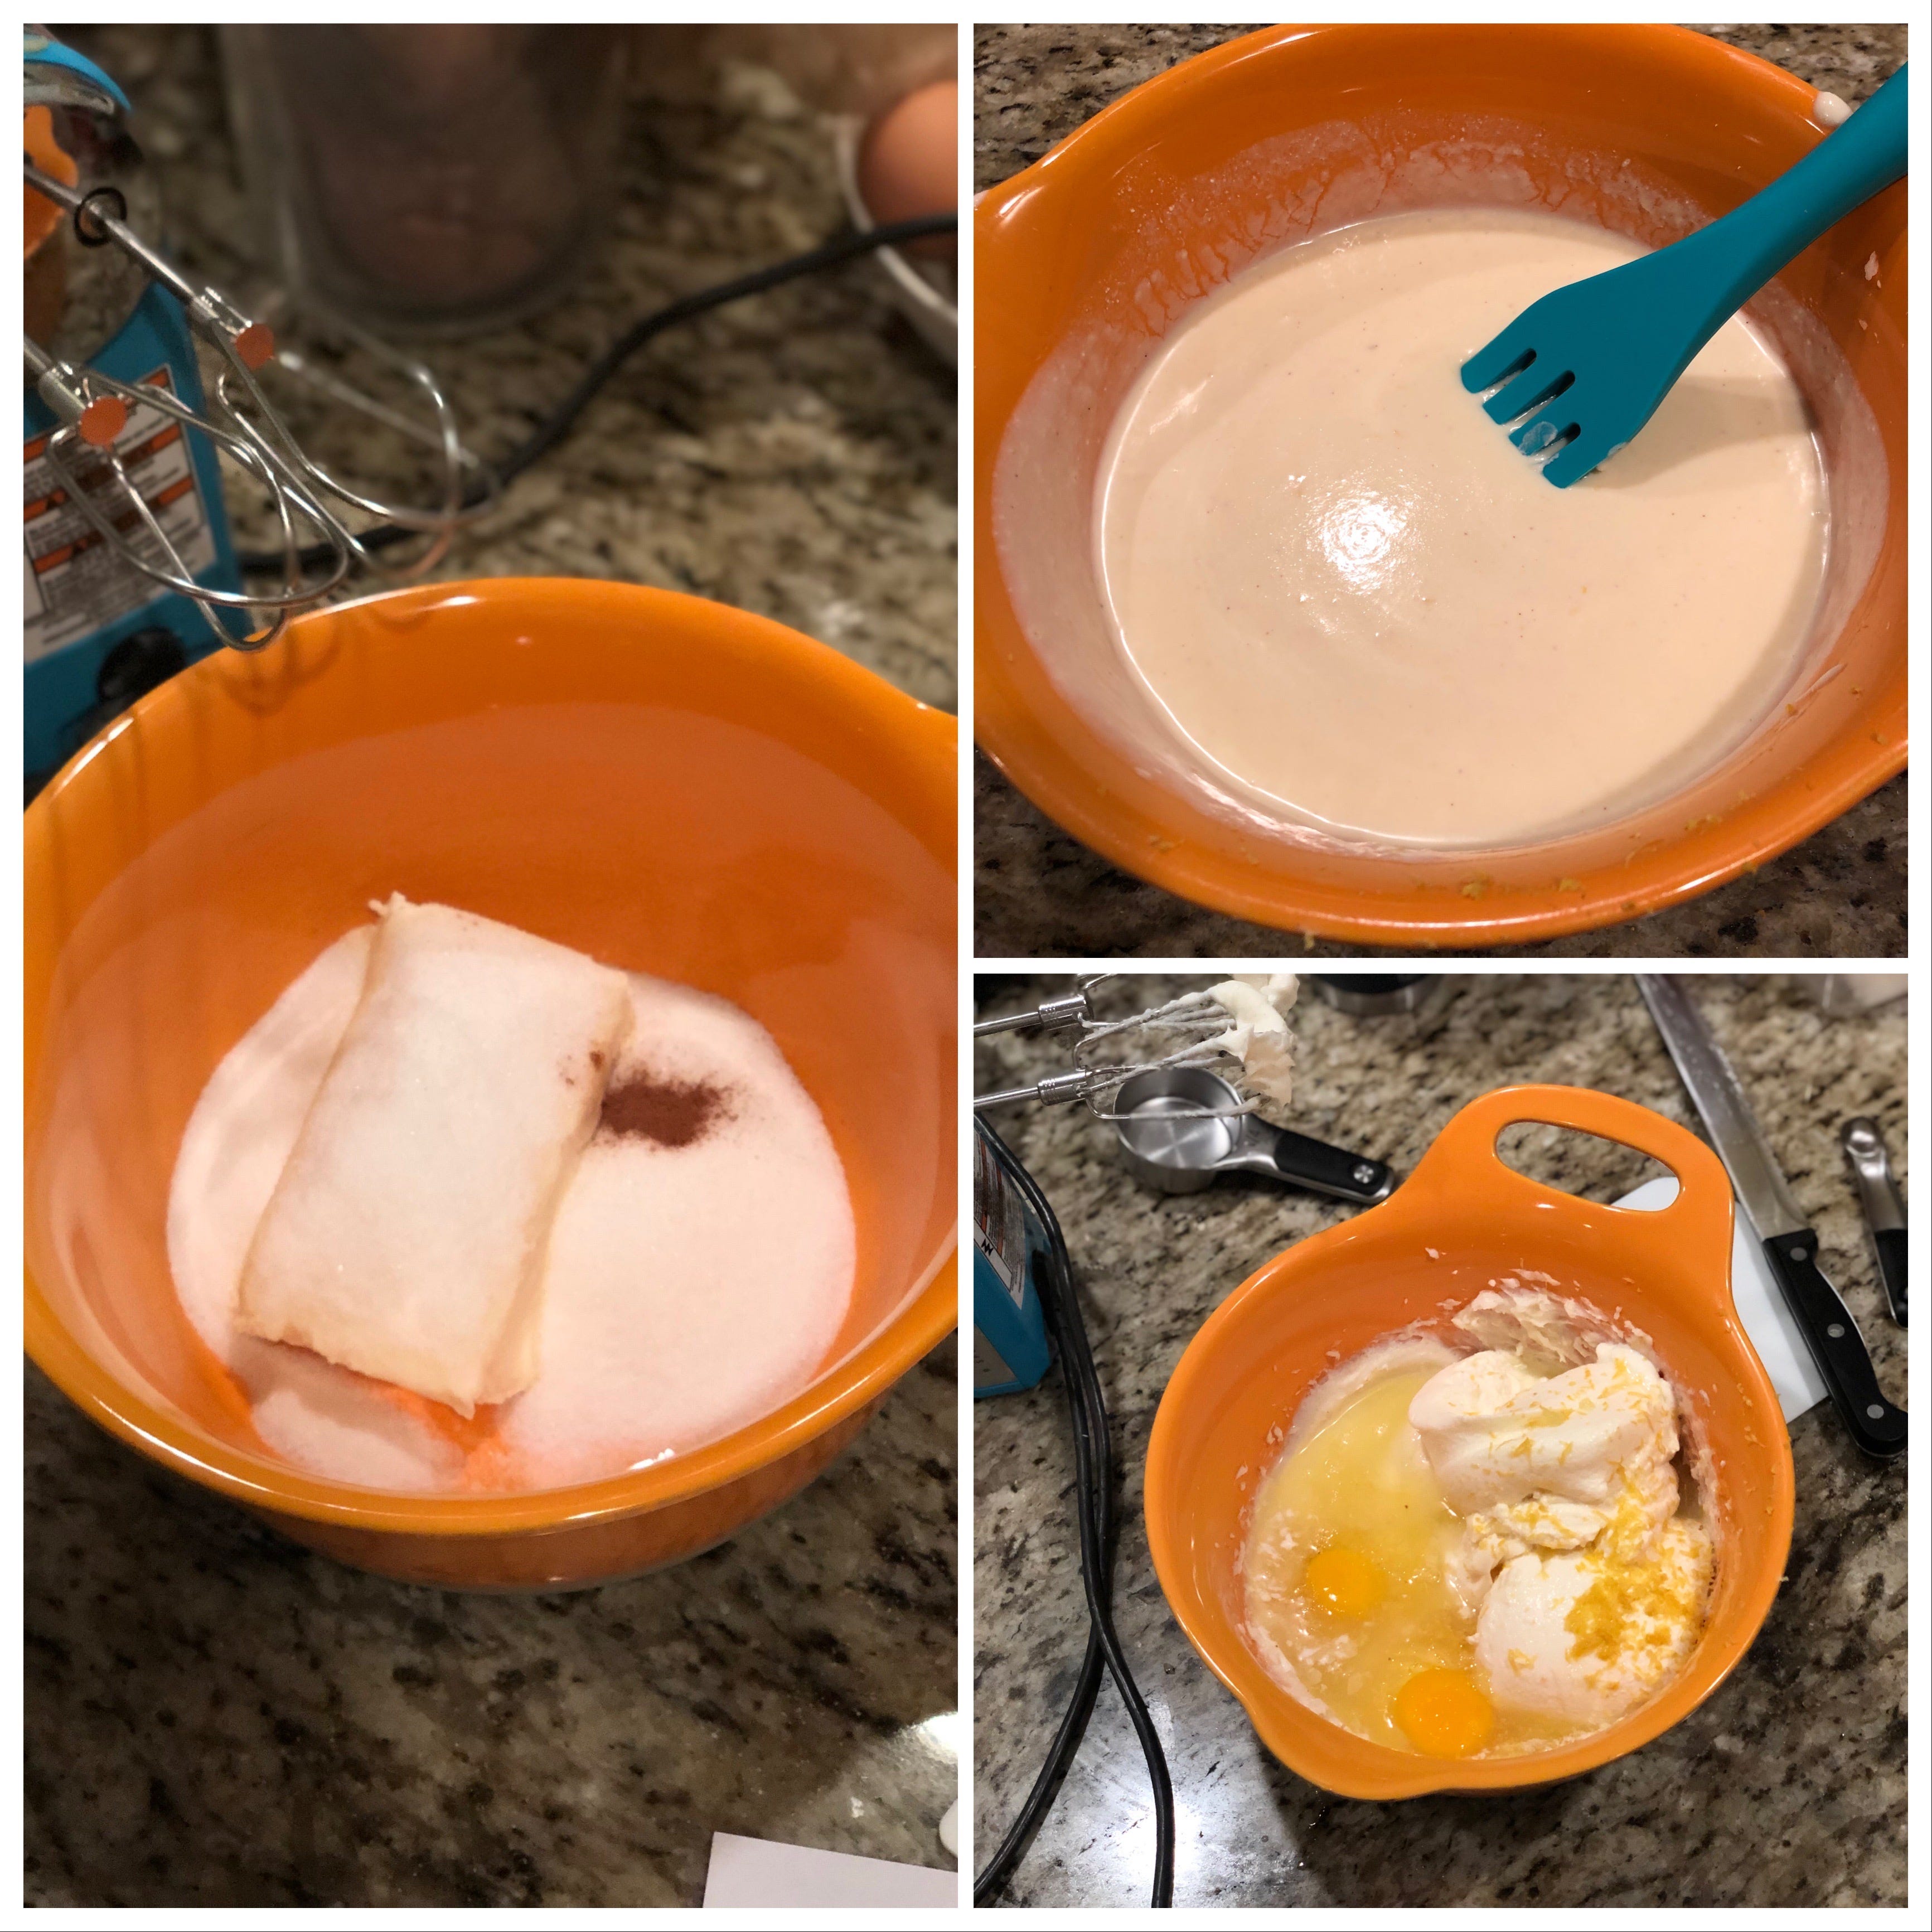
The filling turned out pretty okay from all of this. Originally, I was going to make my own ricotta cheese at home via J. Kenji Lopez-Alt’s recipe but I decided I didn’t want to bite off more than I could chew with this project. I would probably add more lemon juice and/or zest the next time I attempted this, but the end result was a near-cheesecake like consistency.
Almost like making cookies — you need to cream your sugar, cinnamon, and cream cheese together until they are light and fluffy. After about two minutes, you should be at that point and ready to add the rest of your ingredients and fully incorporate them until smooth and pourable.
Cooking the Tart
This part should be the easiest, at least in theory. Pour your batter into the center of the crust (it doesn’t matter if it is still hot) and let it bake in a preheated 350-degree oven for 30-35 minutes or until the filling is set and the center has a slight wobble to it.
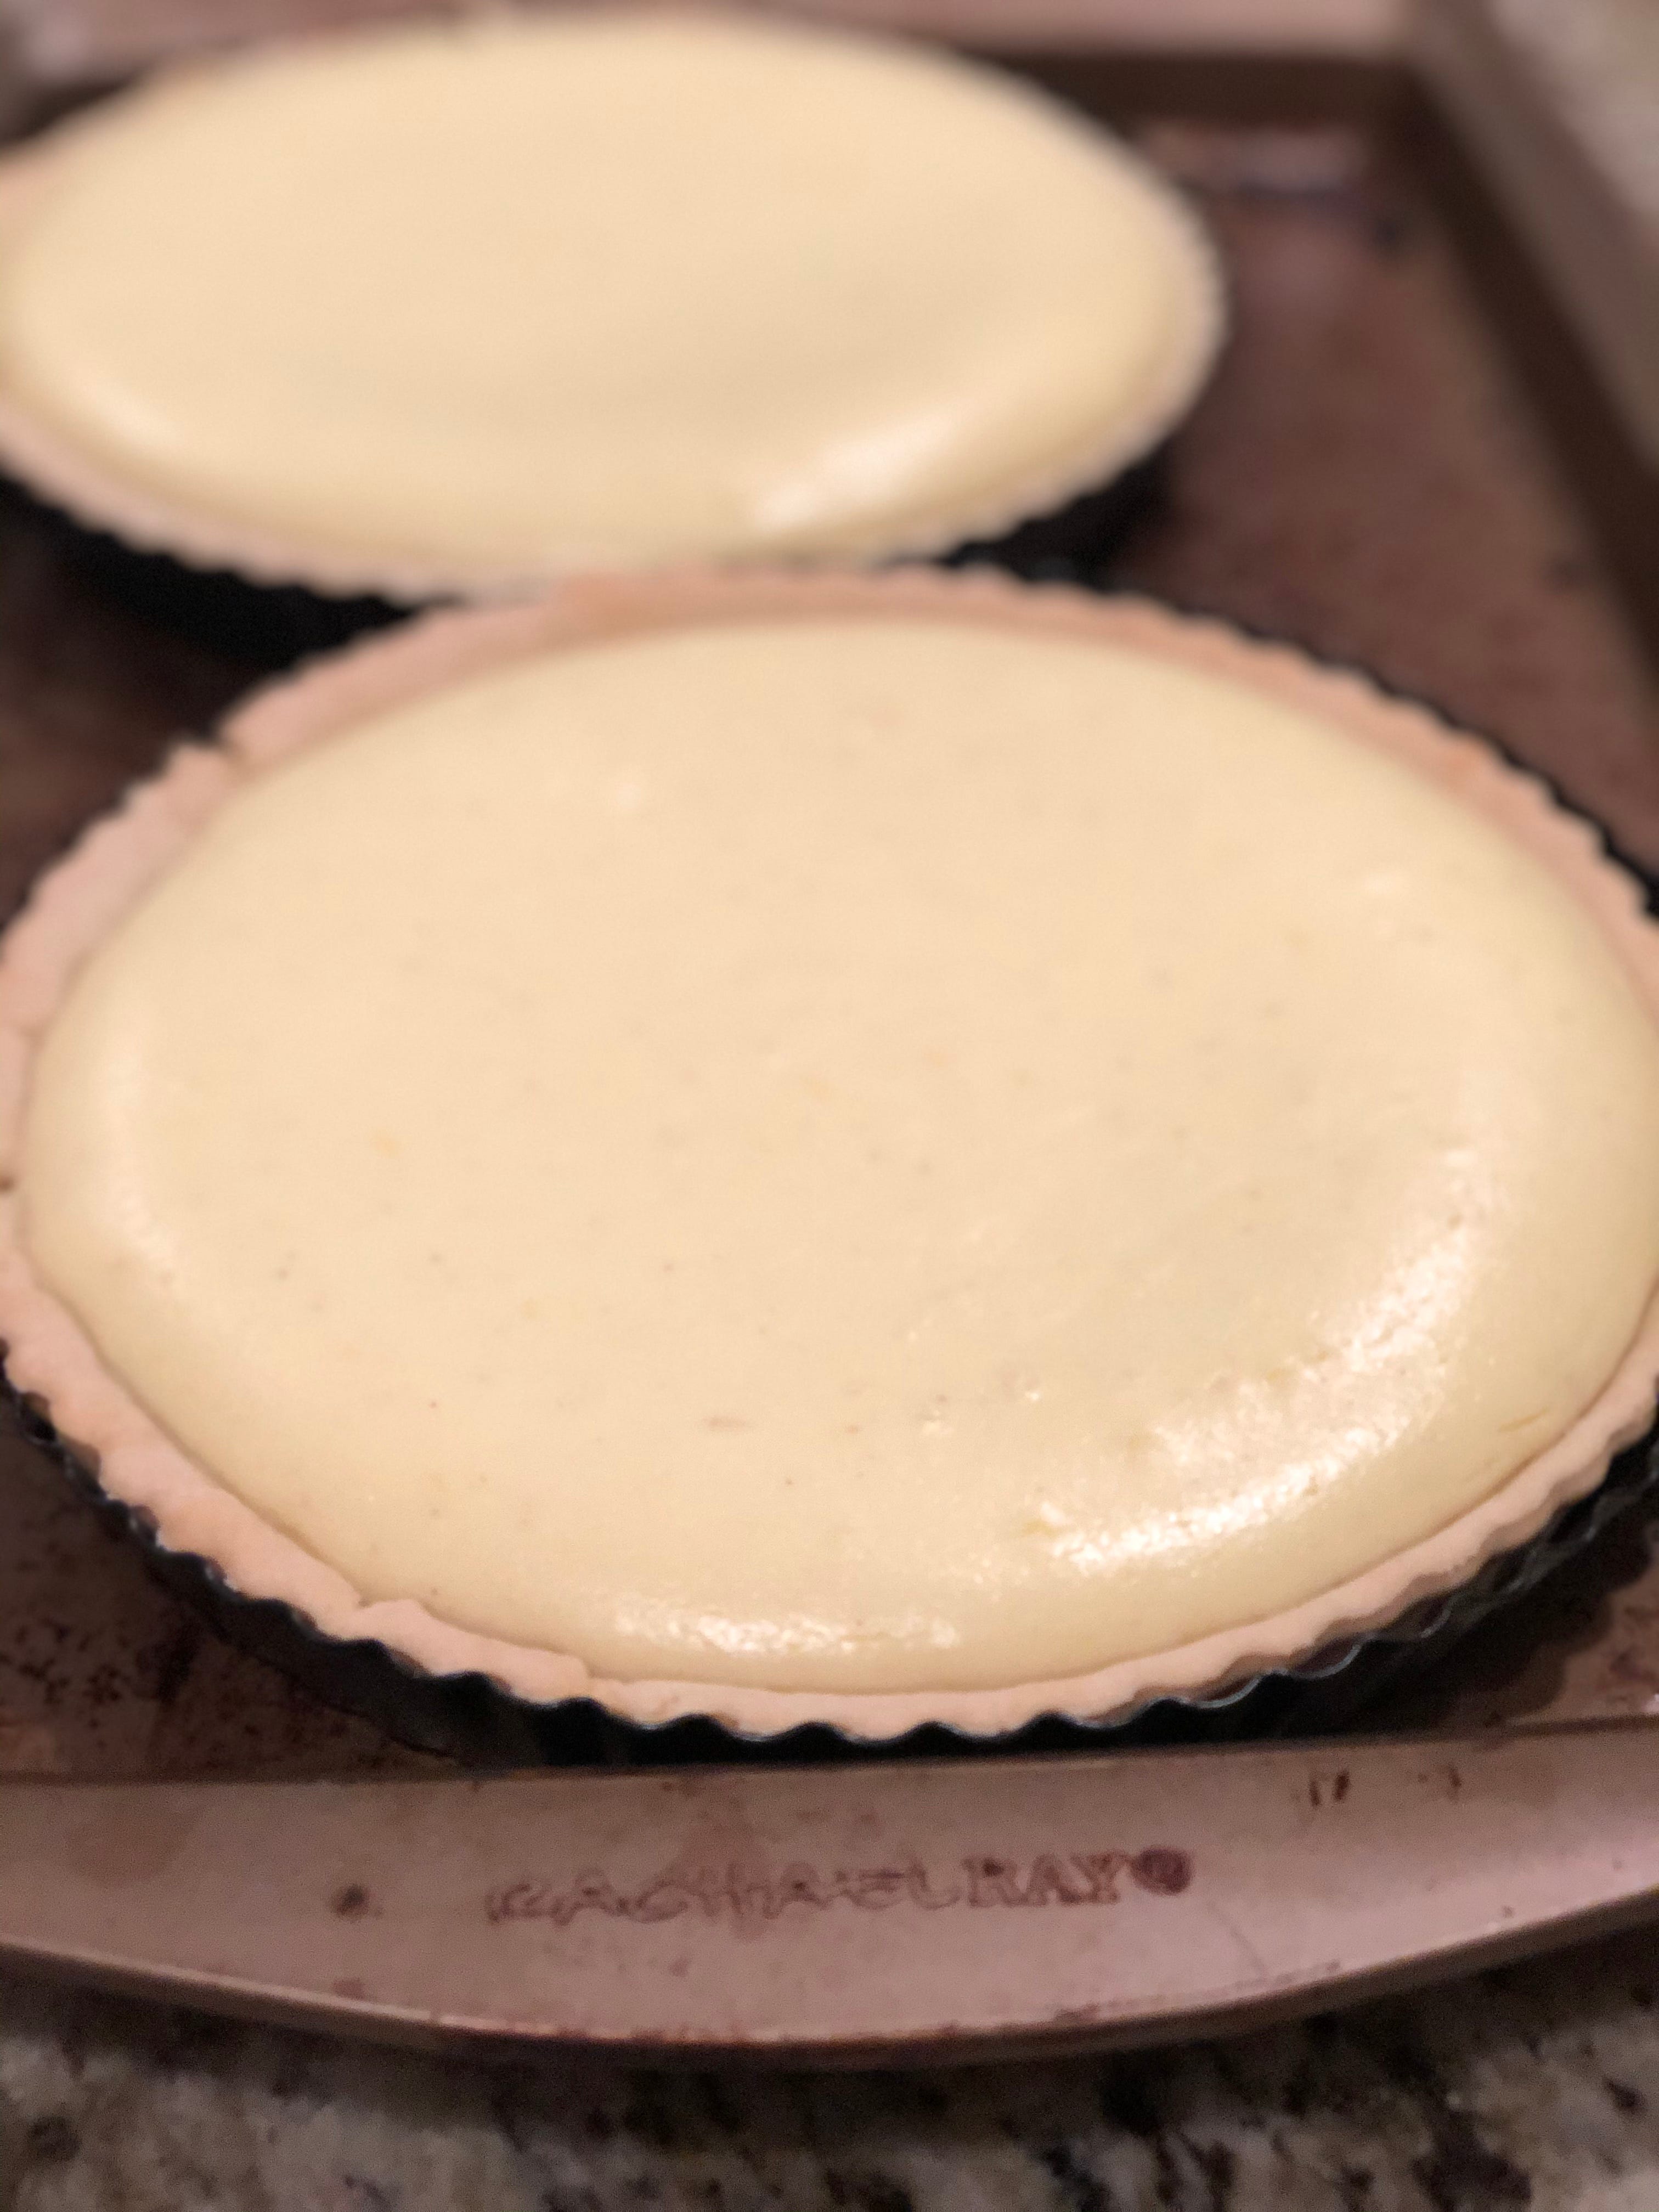
As I said, I messed up the blind baking part and it was essentially ruined. There was no way of re-baking it without ruining the filling, so I sort of gave up hope and put all my eggs into the other project I was working on that I figured would be a layup, but ended up air balling.
Who Knew Baking Was a Science?!
Ratios in baking matter, that is the lesson I learned the hard way with these cookies. Growing up, scotcharoo bars was one of my favorite desserts and I would love to try to recreate that in cookie form.
After the massive success of the compost cookie (found in Baked w/ Nick Vol 1), I figured I would try a stripped-down version to see how it tasted and possibly use it as the foundation for something better (I’m still working on it, but maybe you’ll hear about it in the next newsletter 👀).
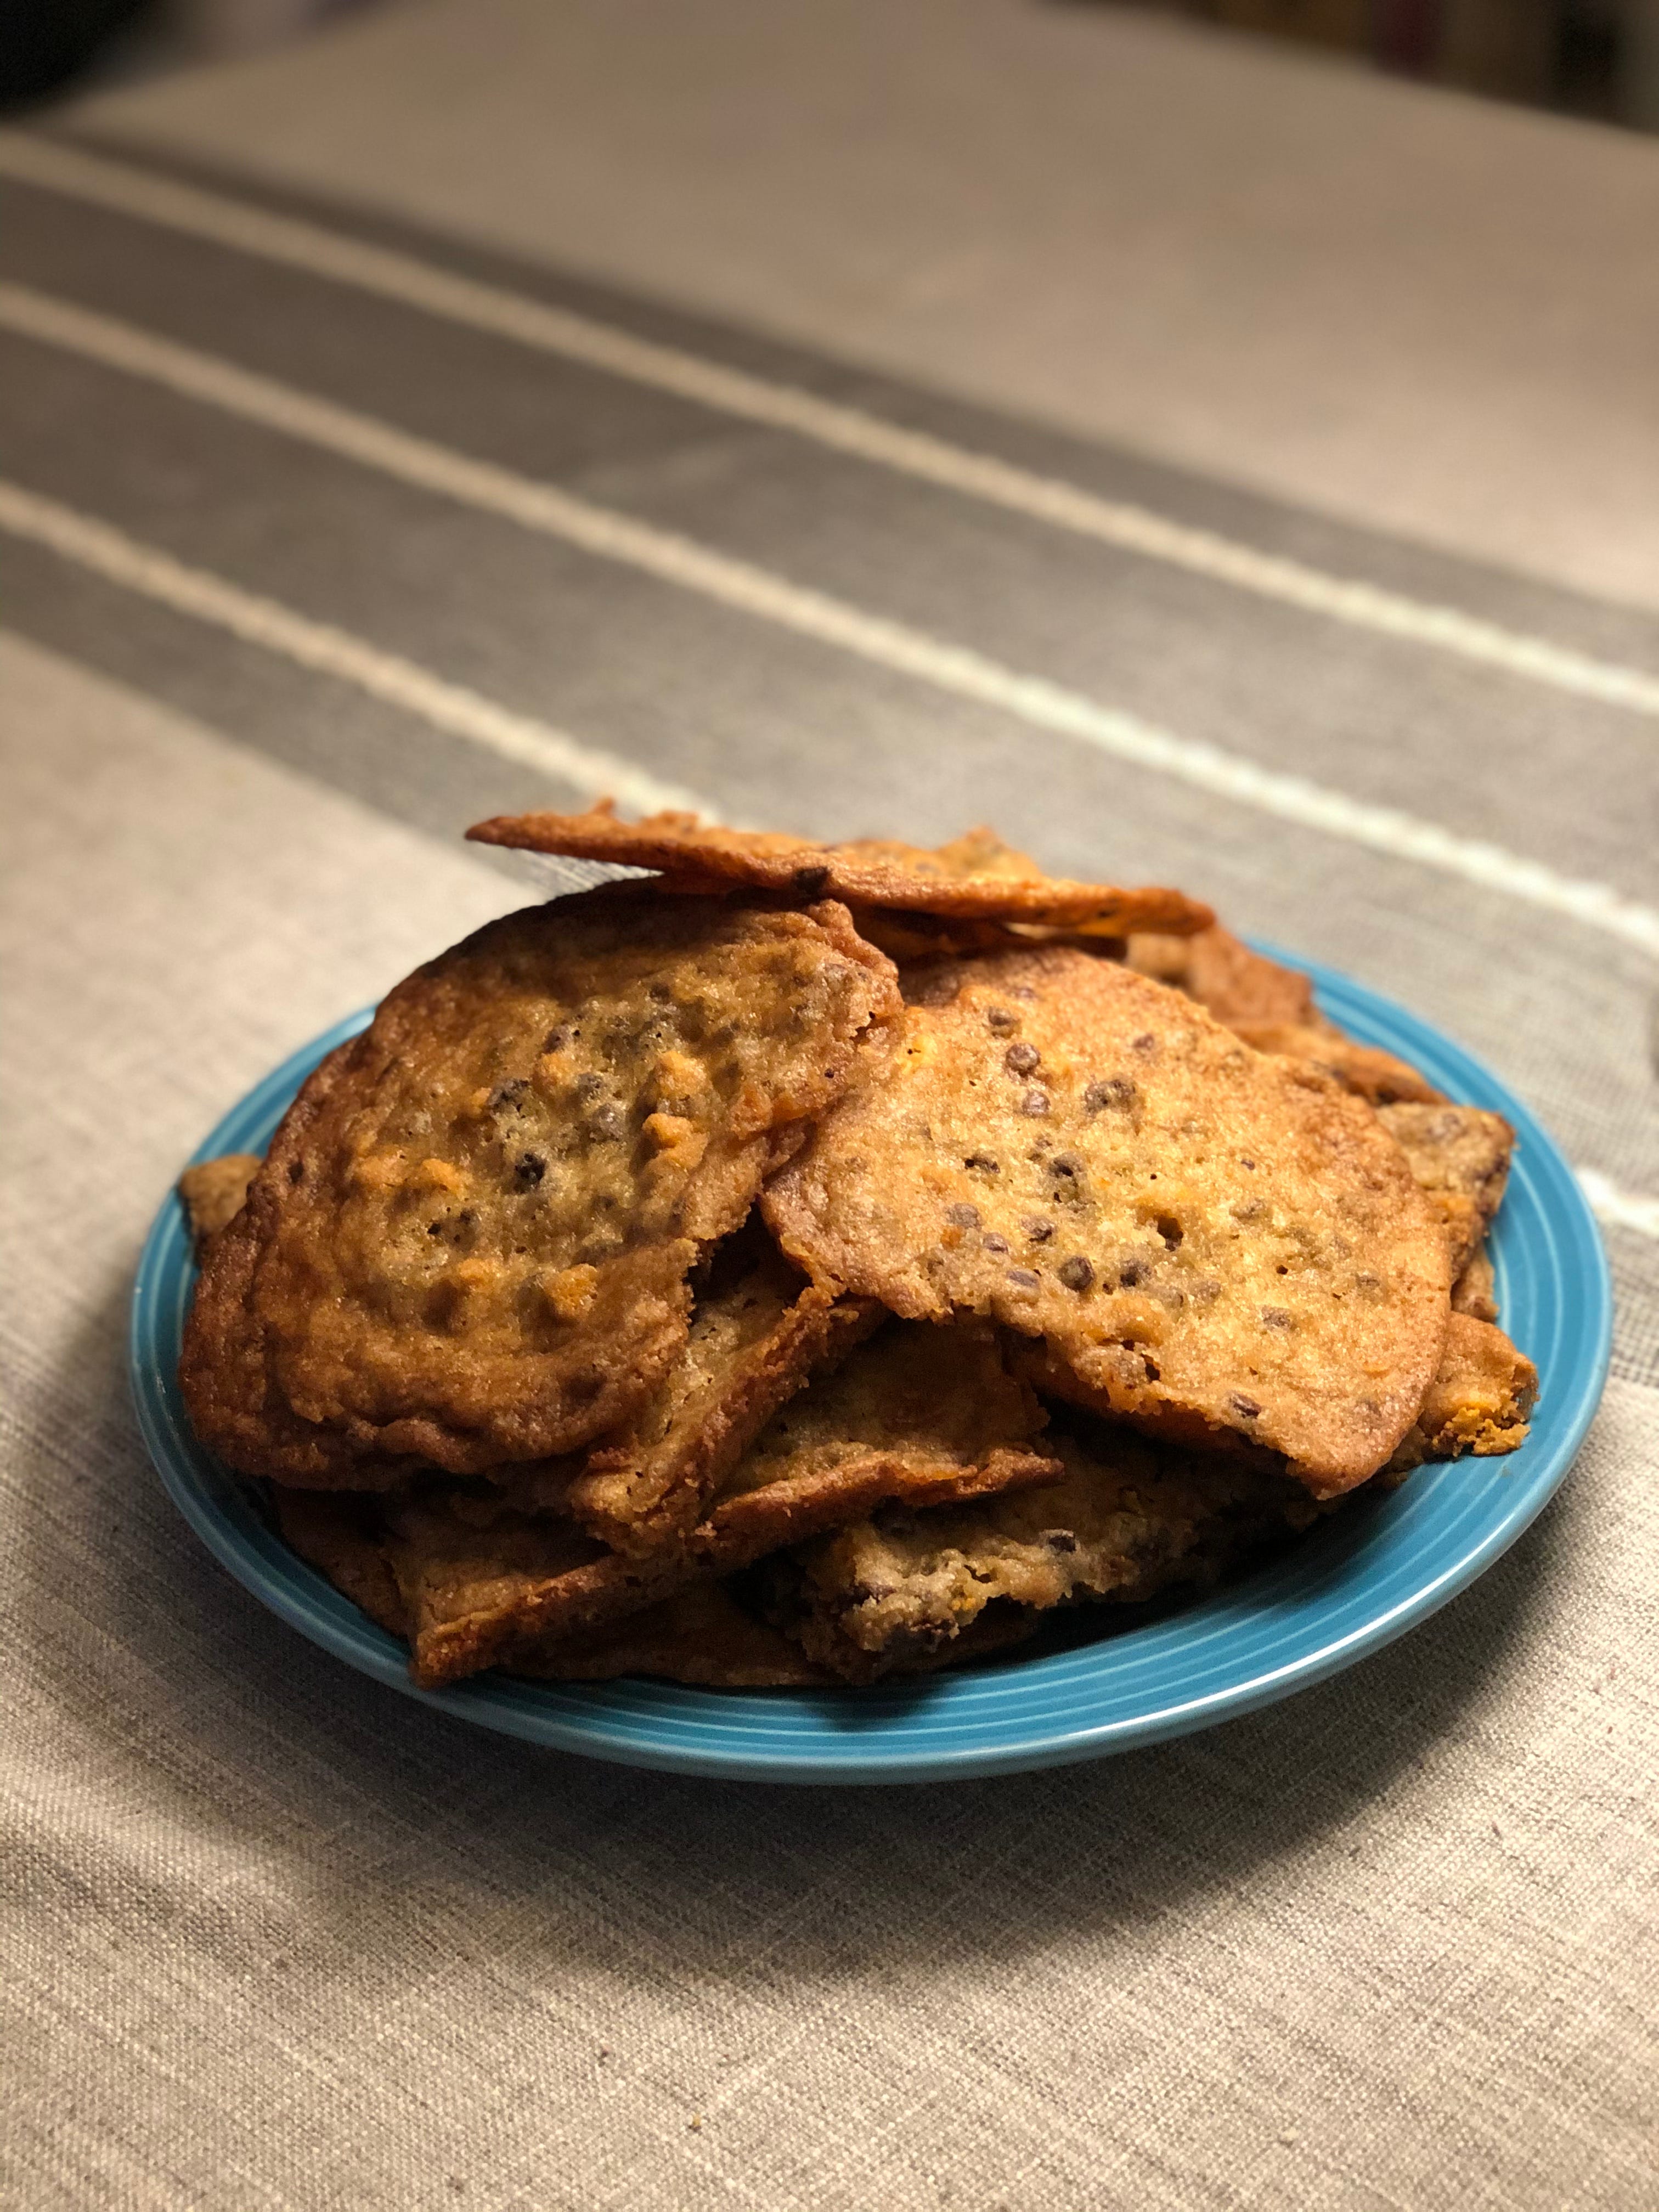
I skated through this cookie, thinking I had mastered baking and all of its elements but my overconfidence and lack of mindfulness while making the dough ended up in loose, greasy cookies that spread out on the sheet pan faster than Bob Wiley’s influence in a small New Hampshire town.
I ended up putting them into ice cream and it was actually pretty good, and at the end of the day I messed up either my ratio of butter or flour when doubling the recipe so don’t be like me!
Be mindful when baking and focus on what you are doing so you don’t end up wasting an entire day making things that aren’t going to turn out. The full list of ingredients can be found here, but let’s go over how to make these cookies the right way.
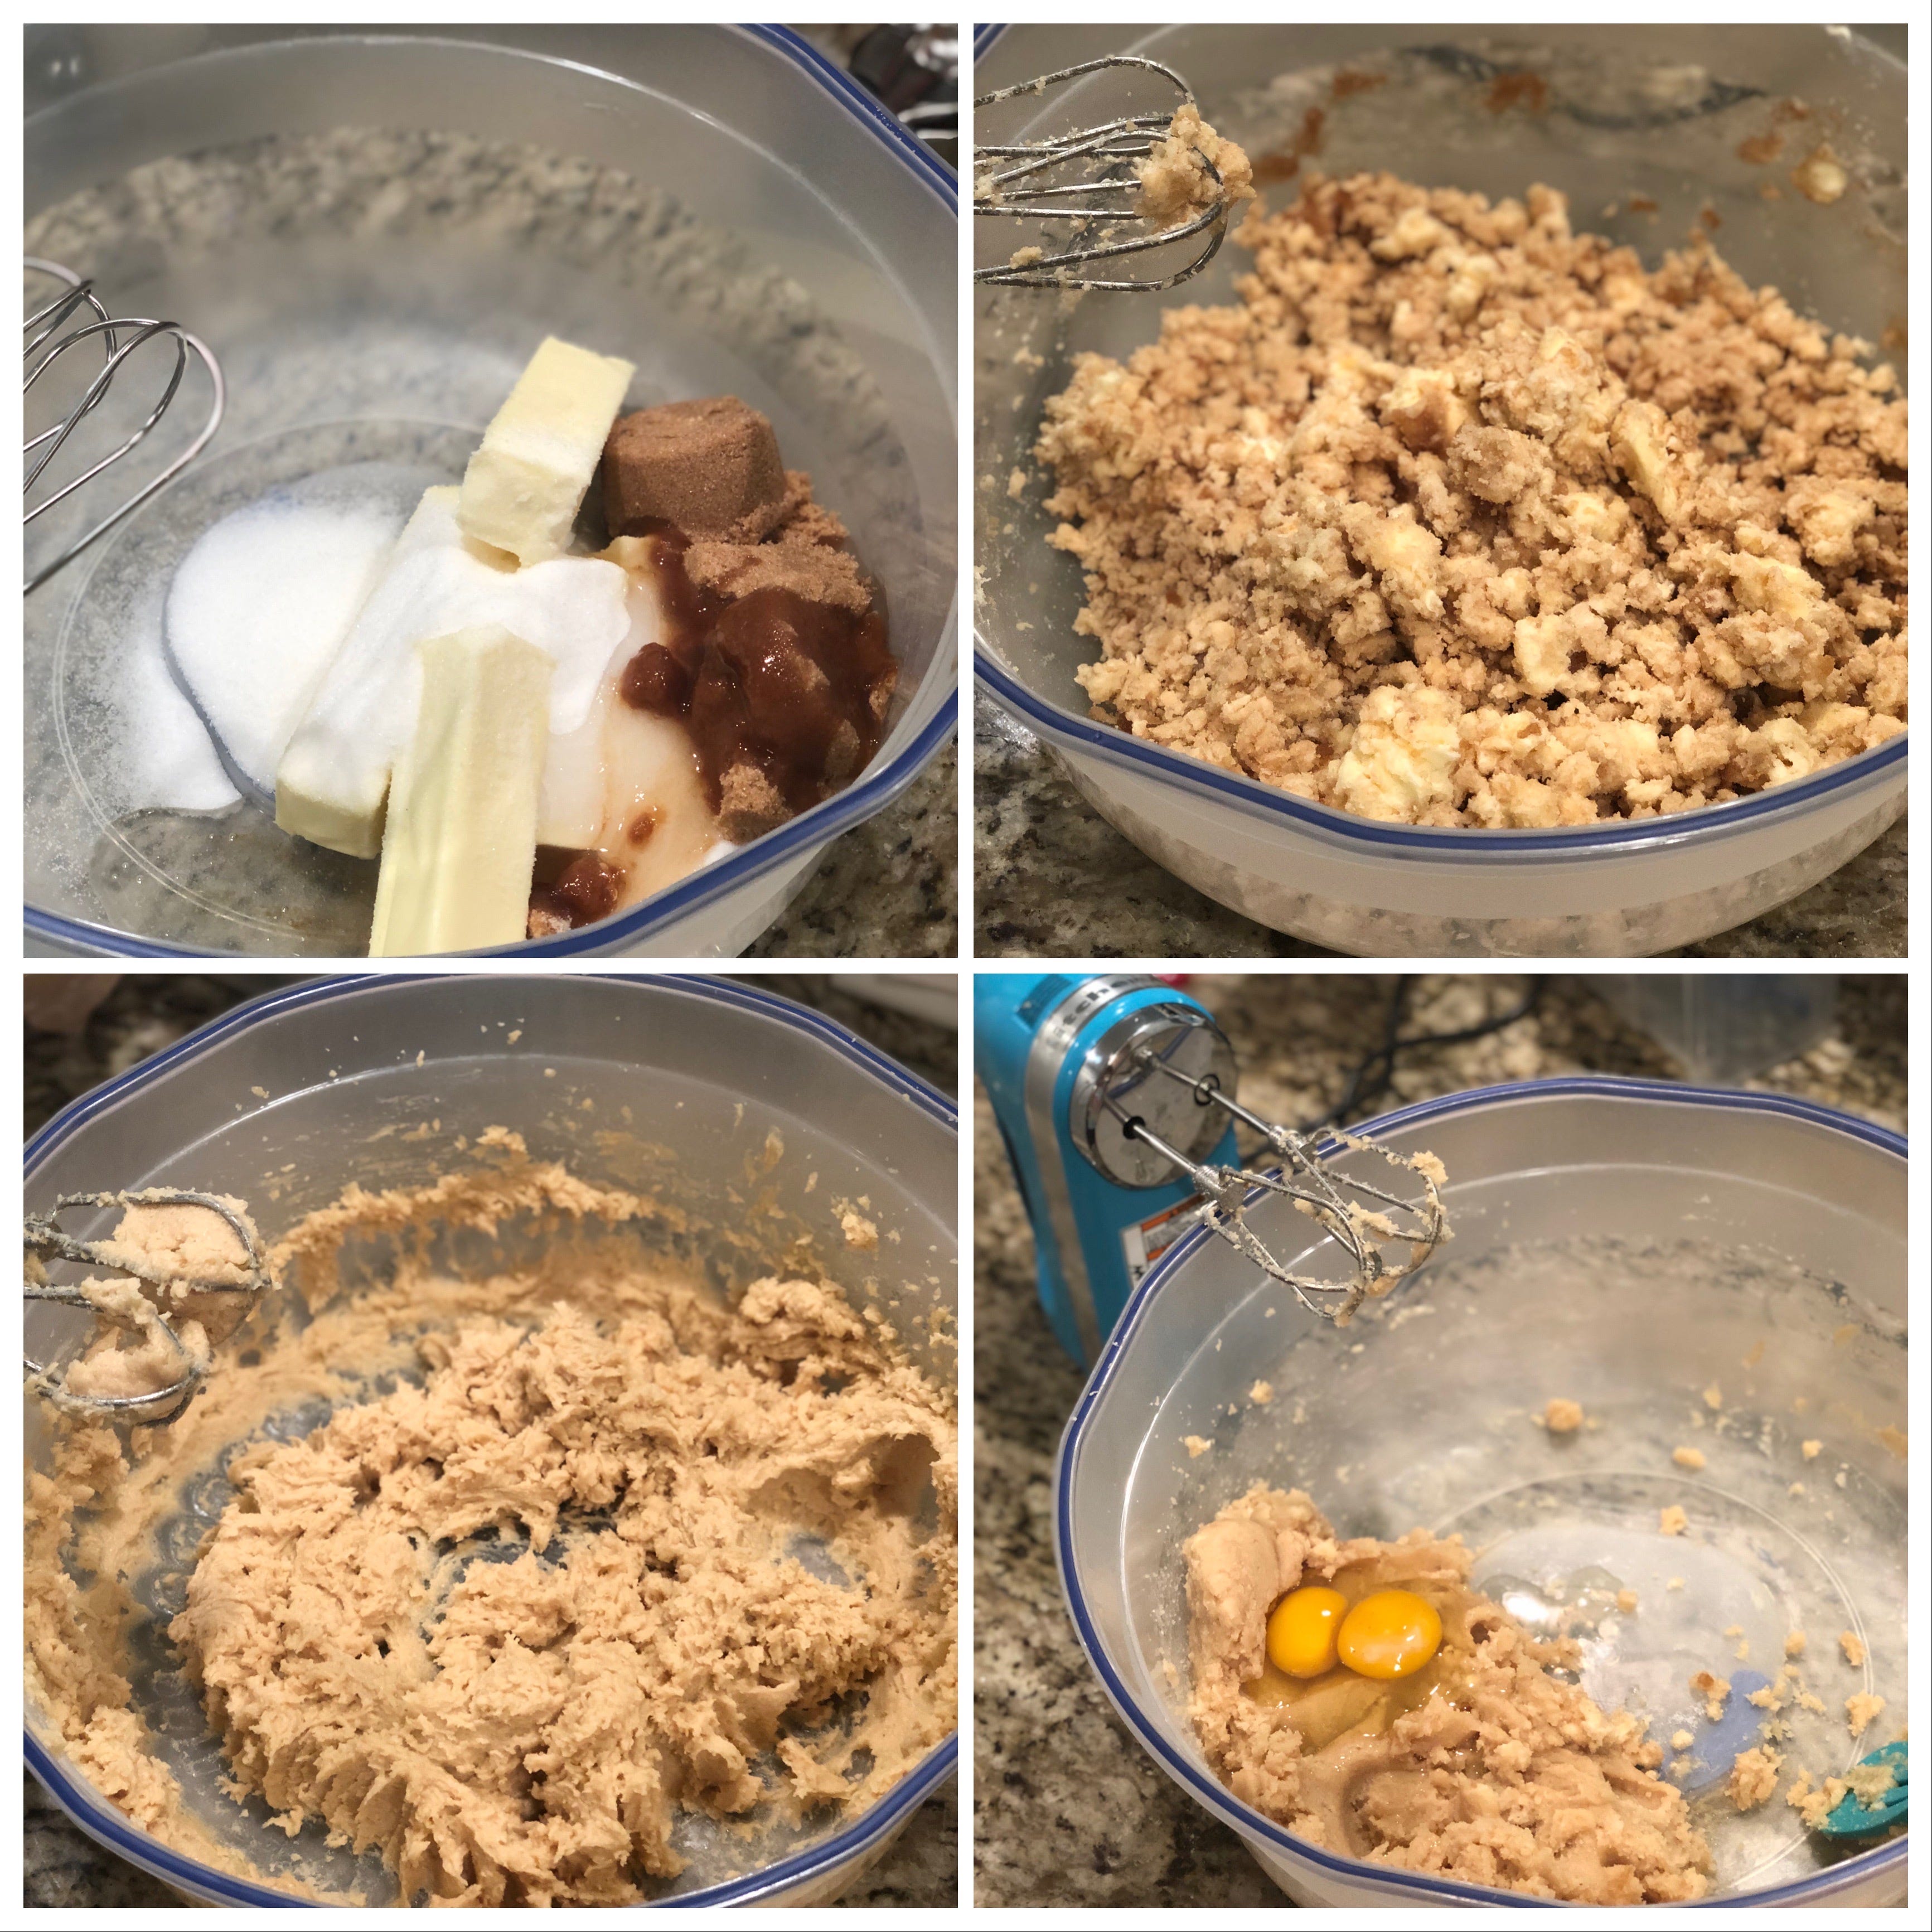
Creaming the Butter
My favorite process of making cookies has finally gotten easier because I let the butter come to room temperature this time! Instead of taking 4-5 minutes, it took 2-3 and when I added the eggs and vanilla extract to the butter and sugars, it took another 6-7 minutes to fully cream everything together.
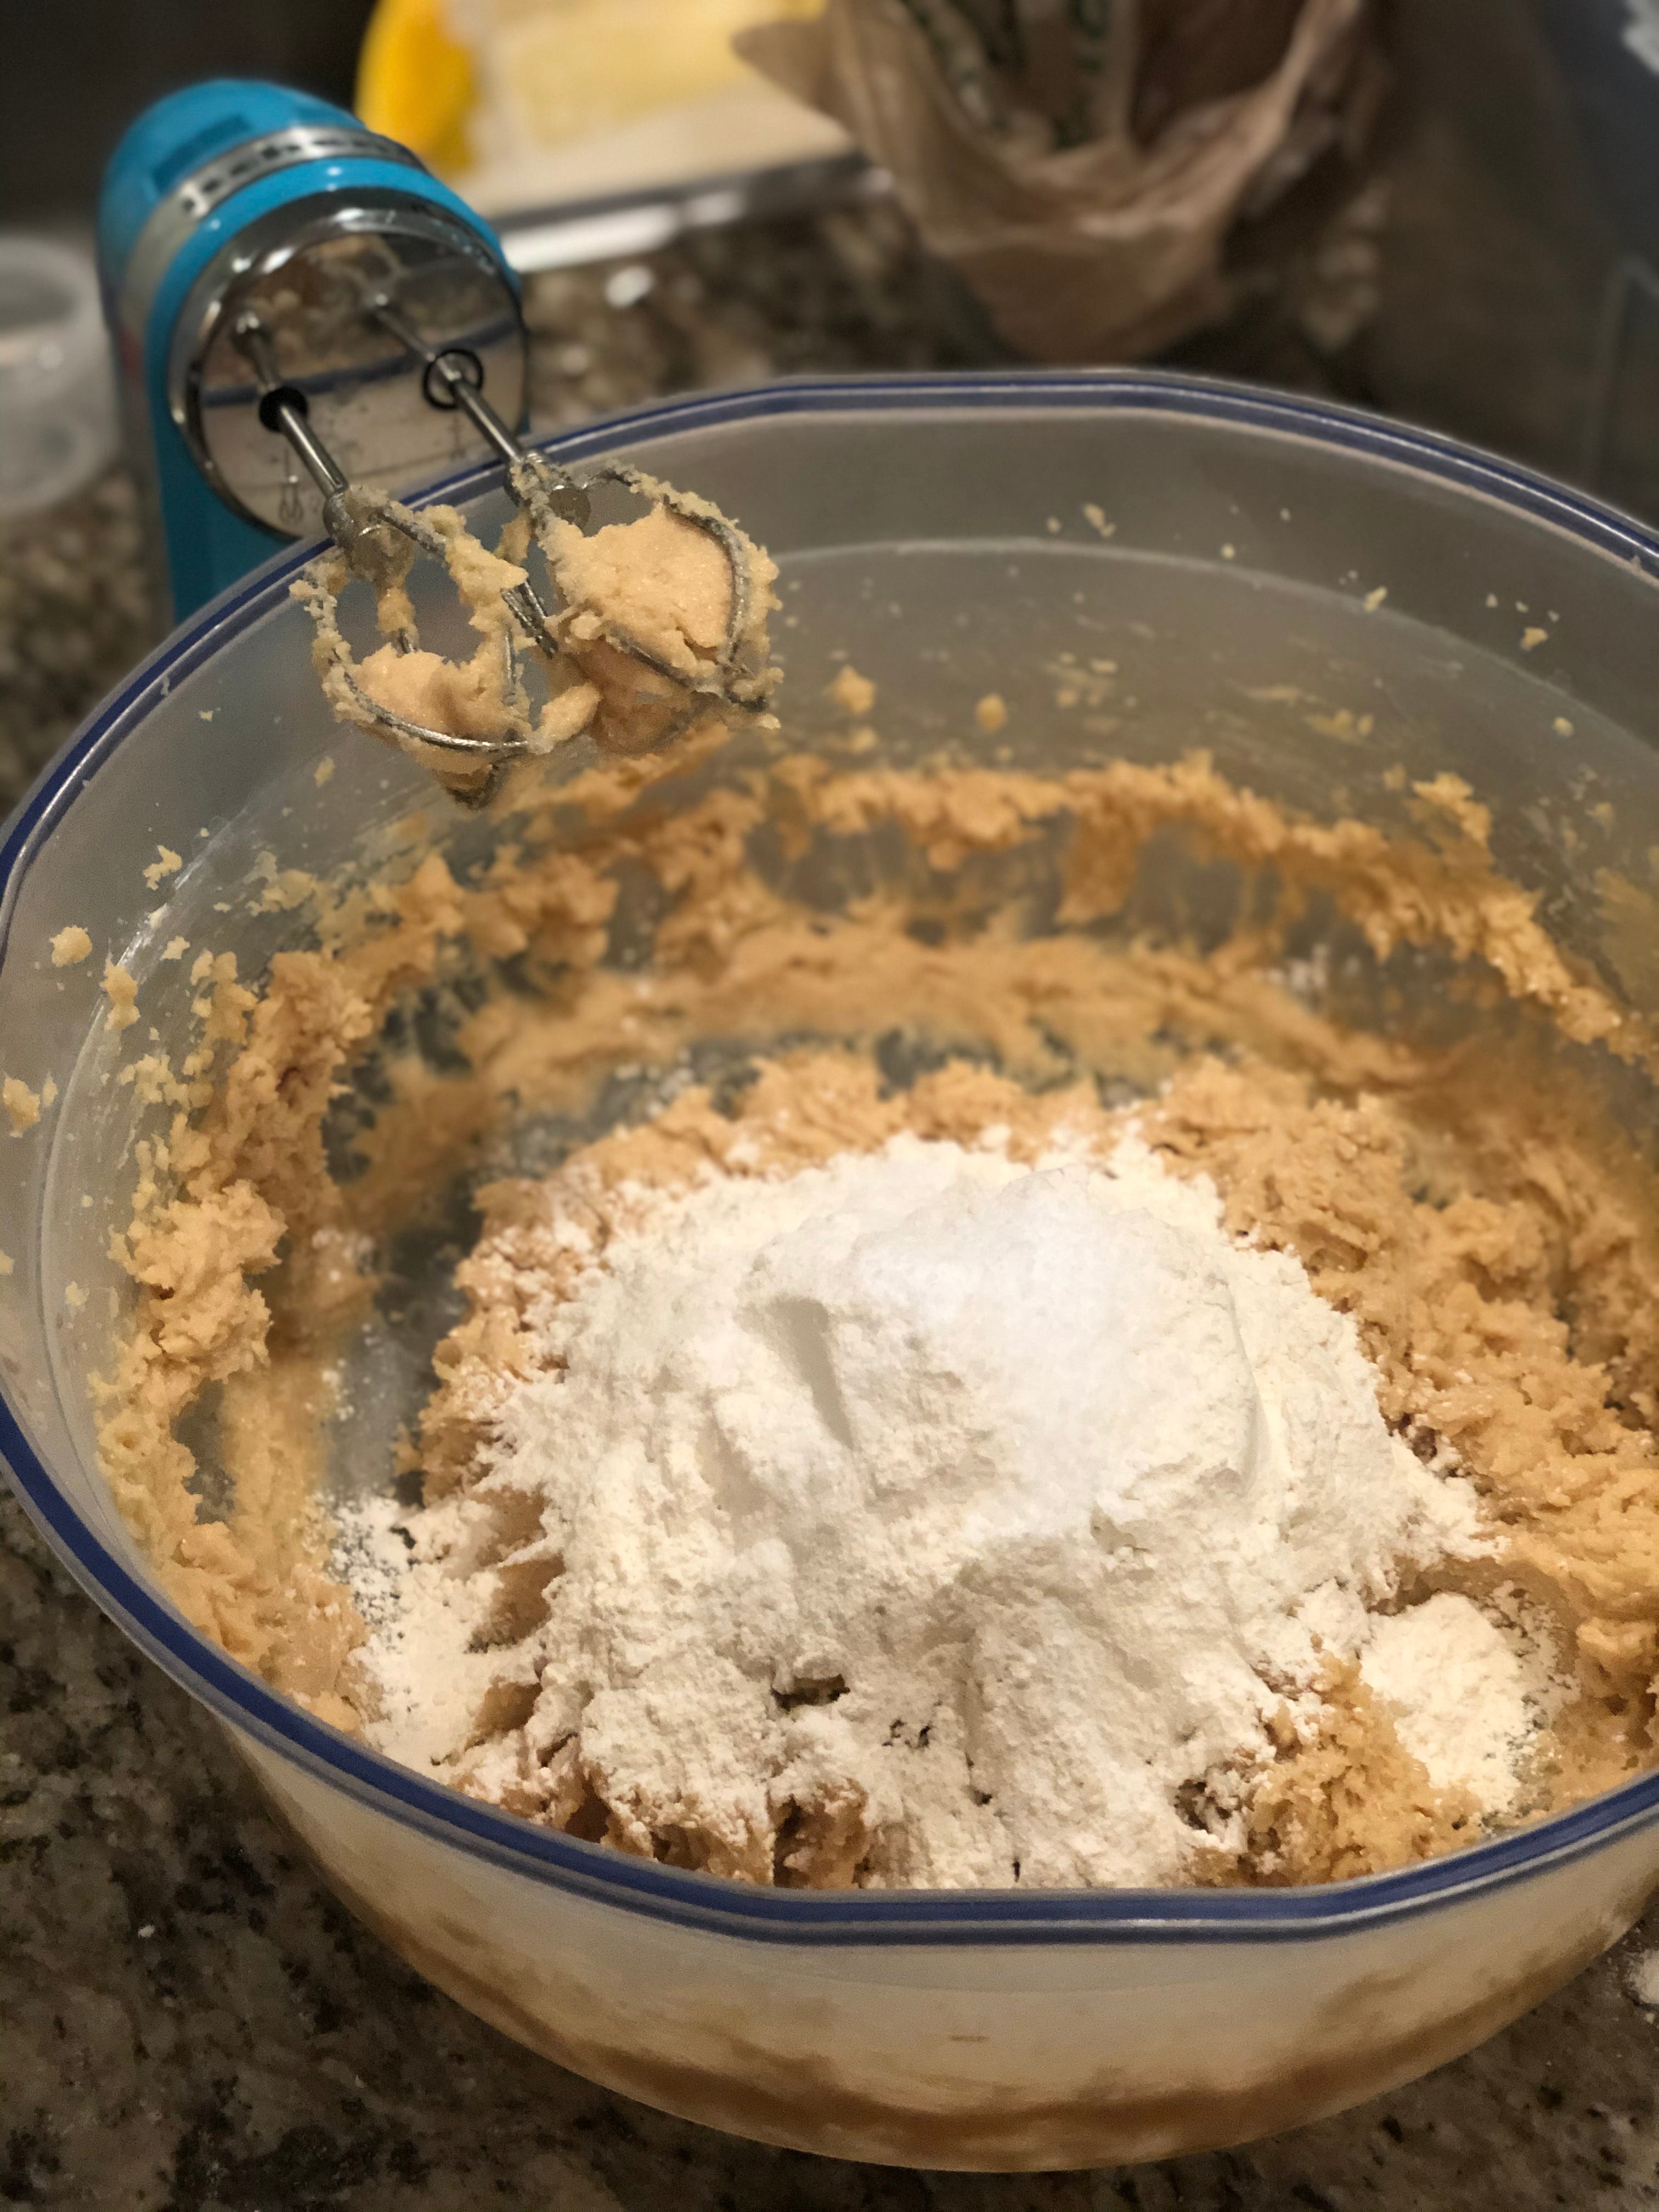
Adding the Dry Stuff
Like we have done before, you add the dry ingredients to this delicious mixture of sugar and butter and fully incorporate it. This means mixing it until you don’t see any more streaks of flour and that is it! Overmixing it could lead to tough cookies and that is the last thing you want.
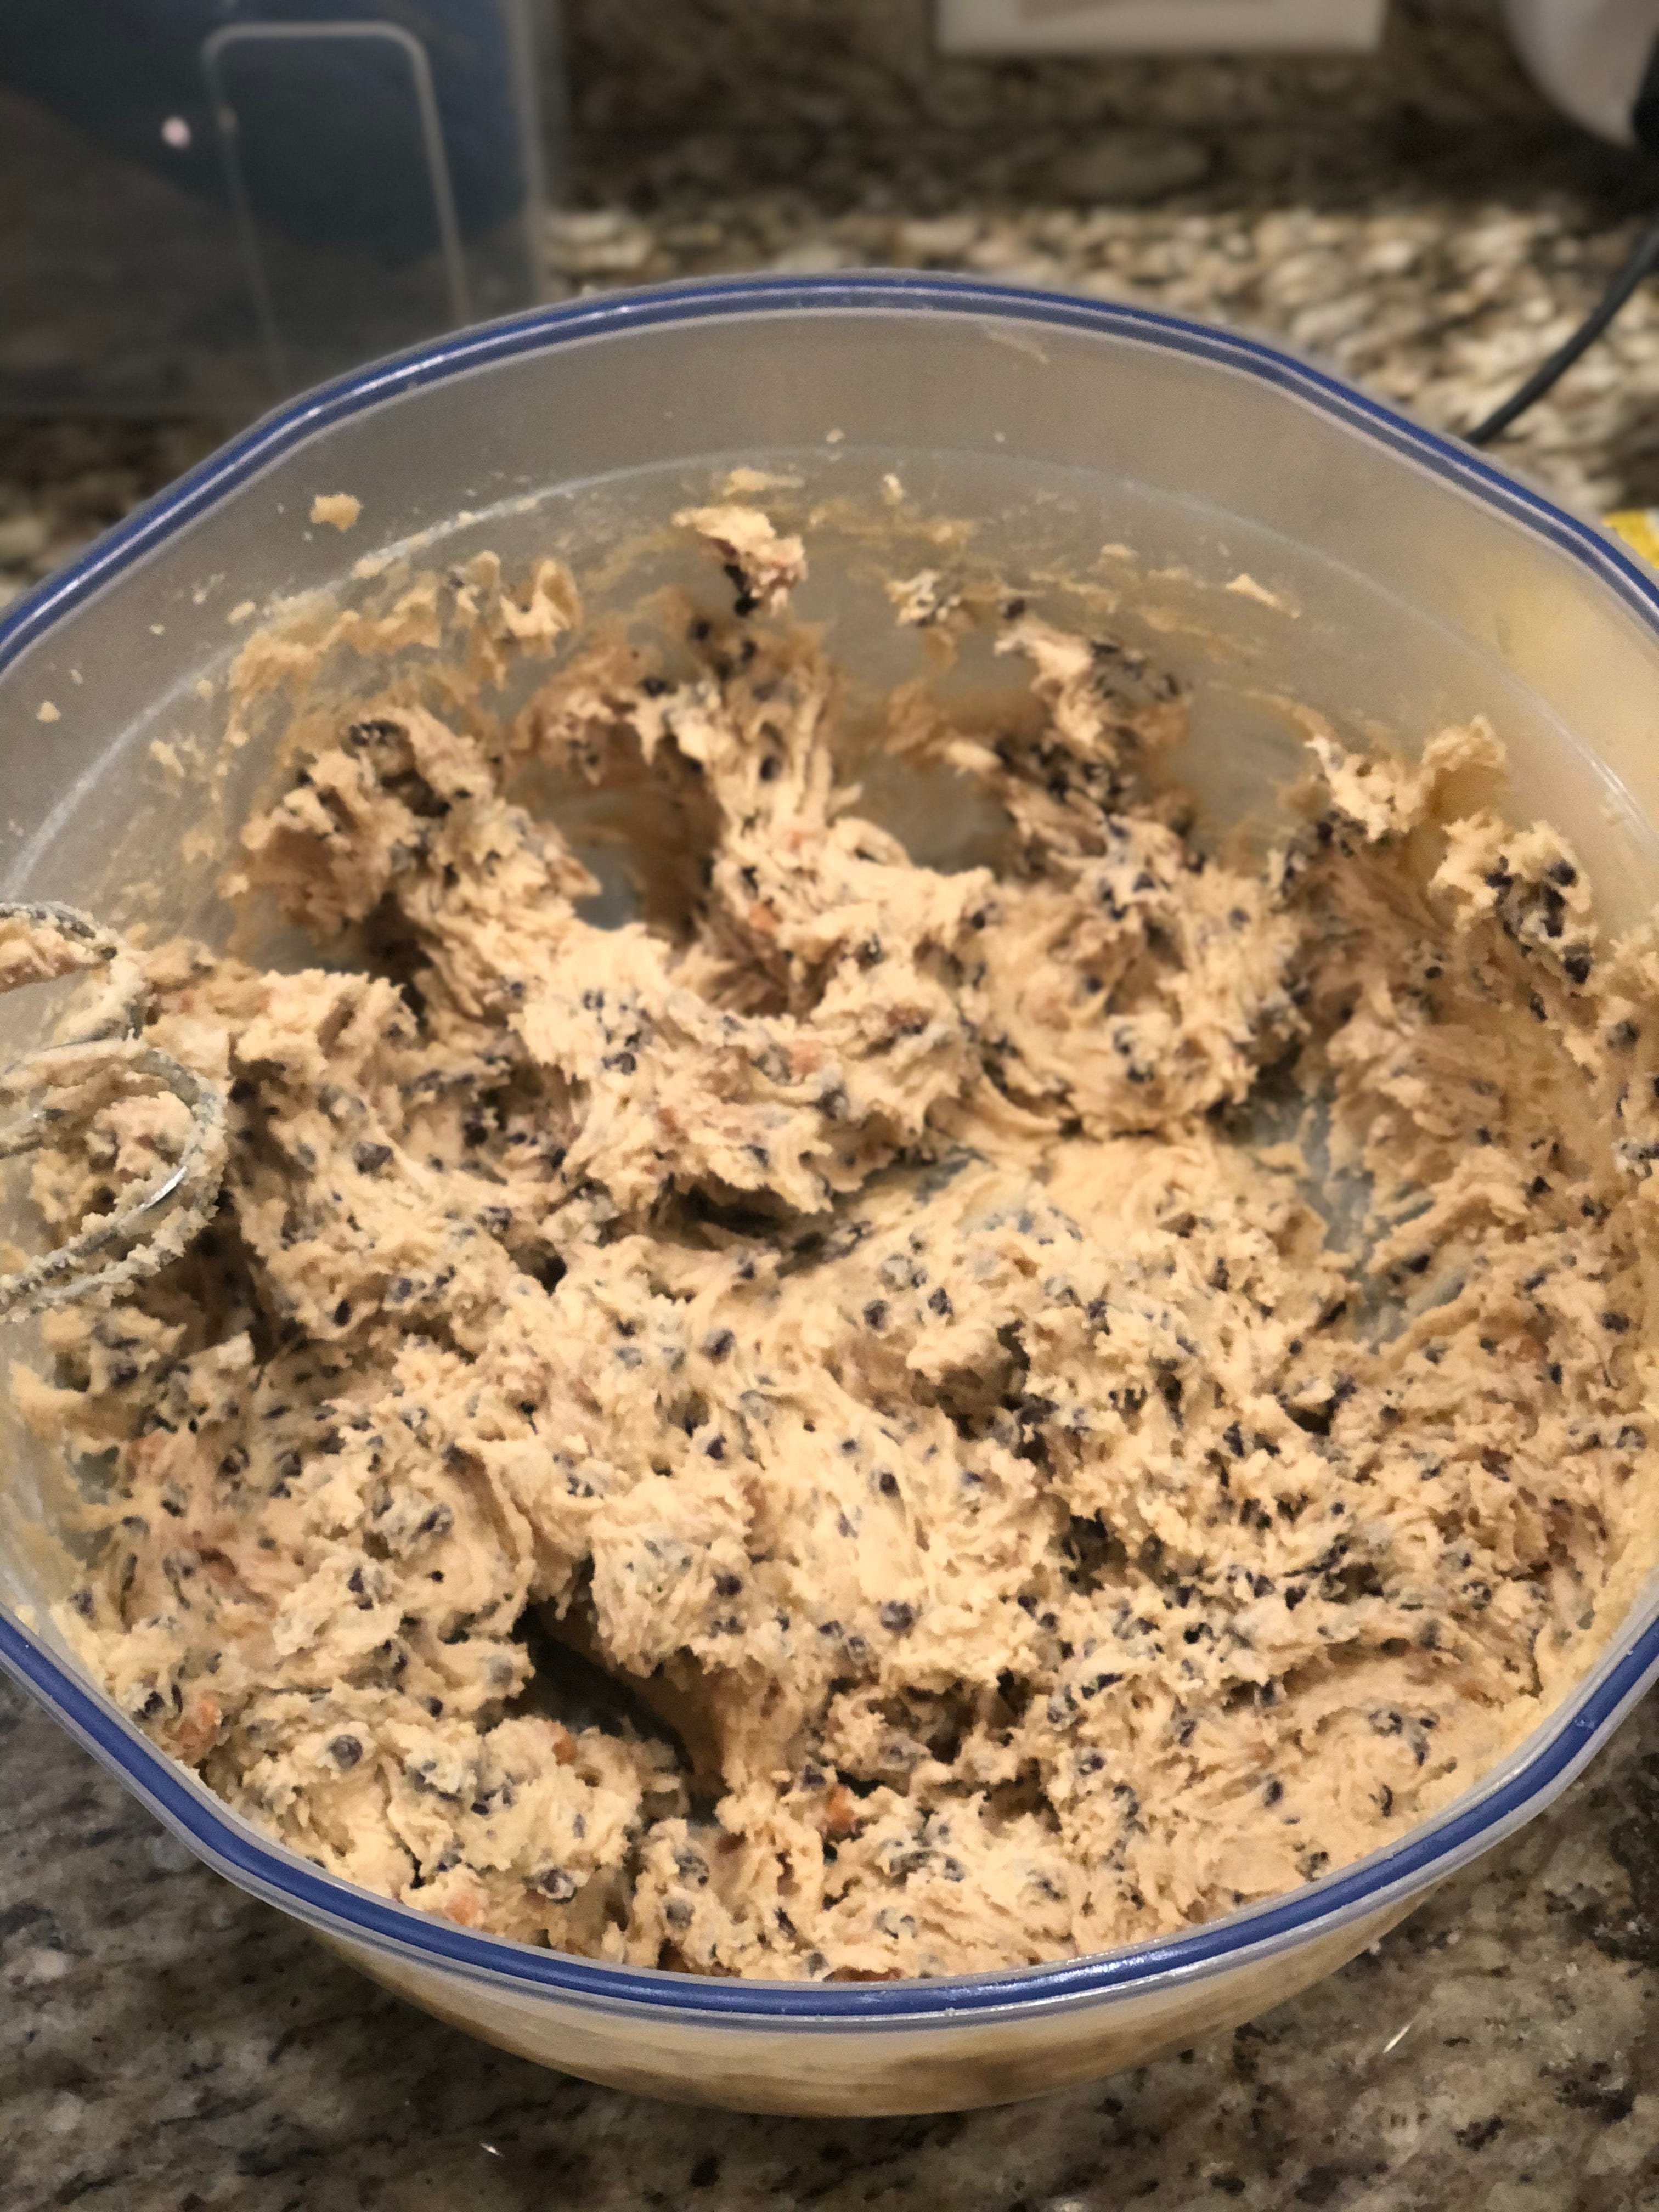
Adding the Fun Stuff
This time I only added mini chocolate chips and butterscotch chips, but I am working on a method of making these more like a scotcharoo and less like a cookie with just chocolate and butterscotch chips. I think I might have added too many chocolate chips, but that isn’t really a bad thing.
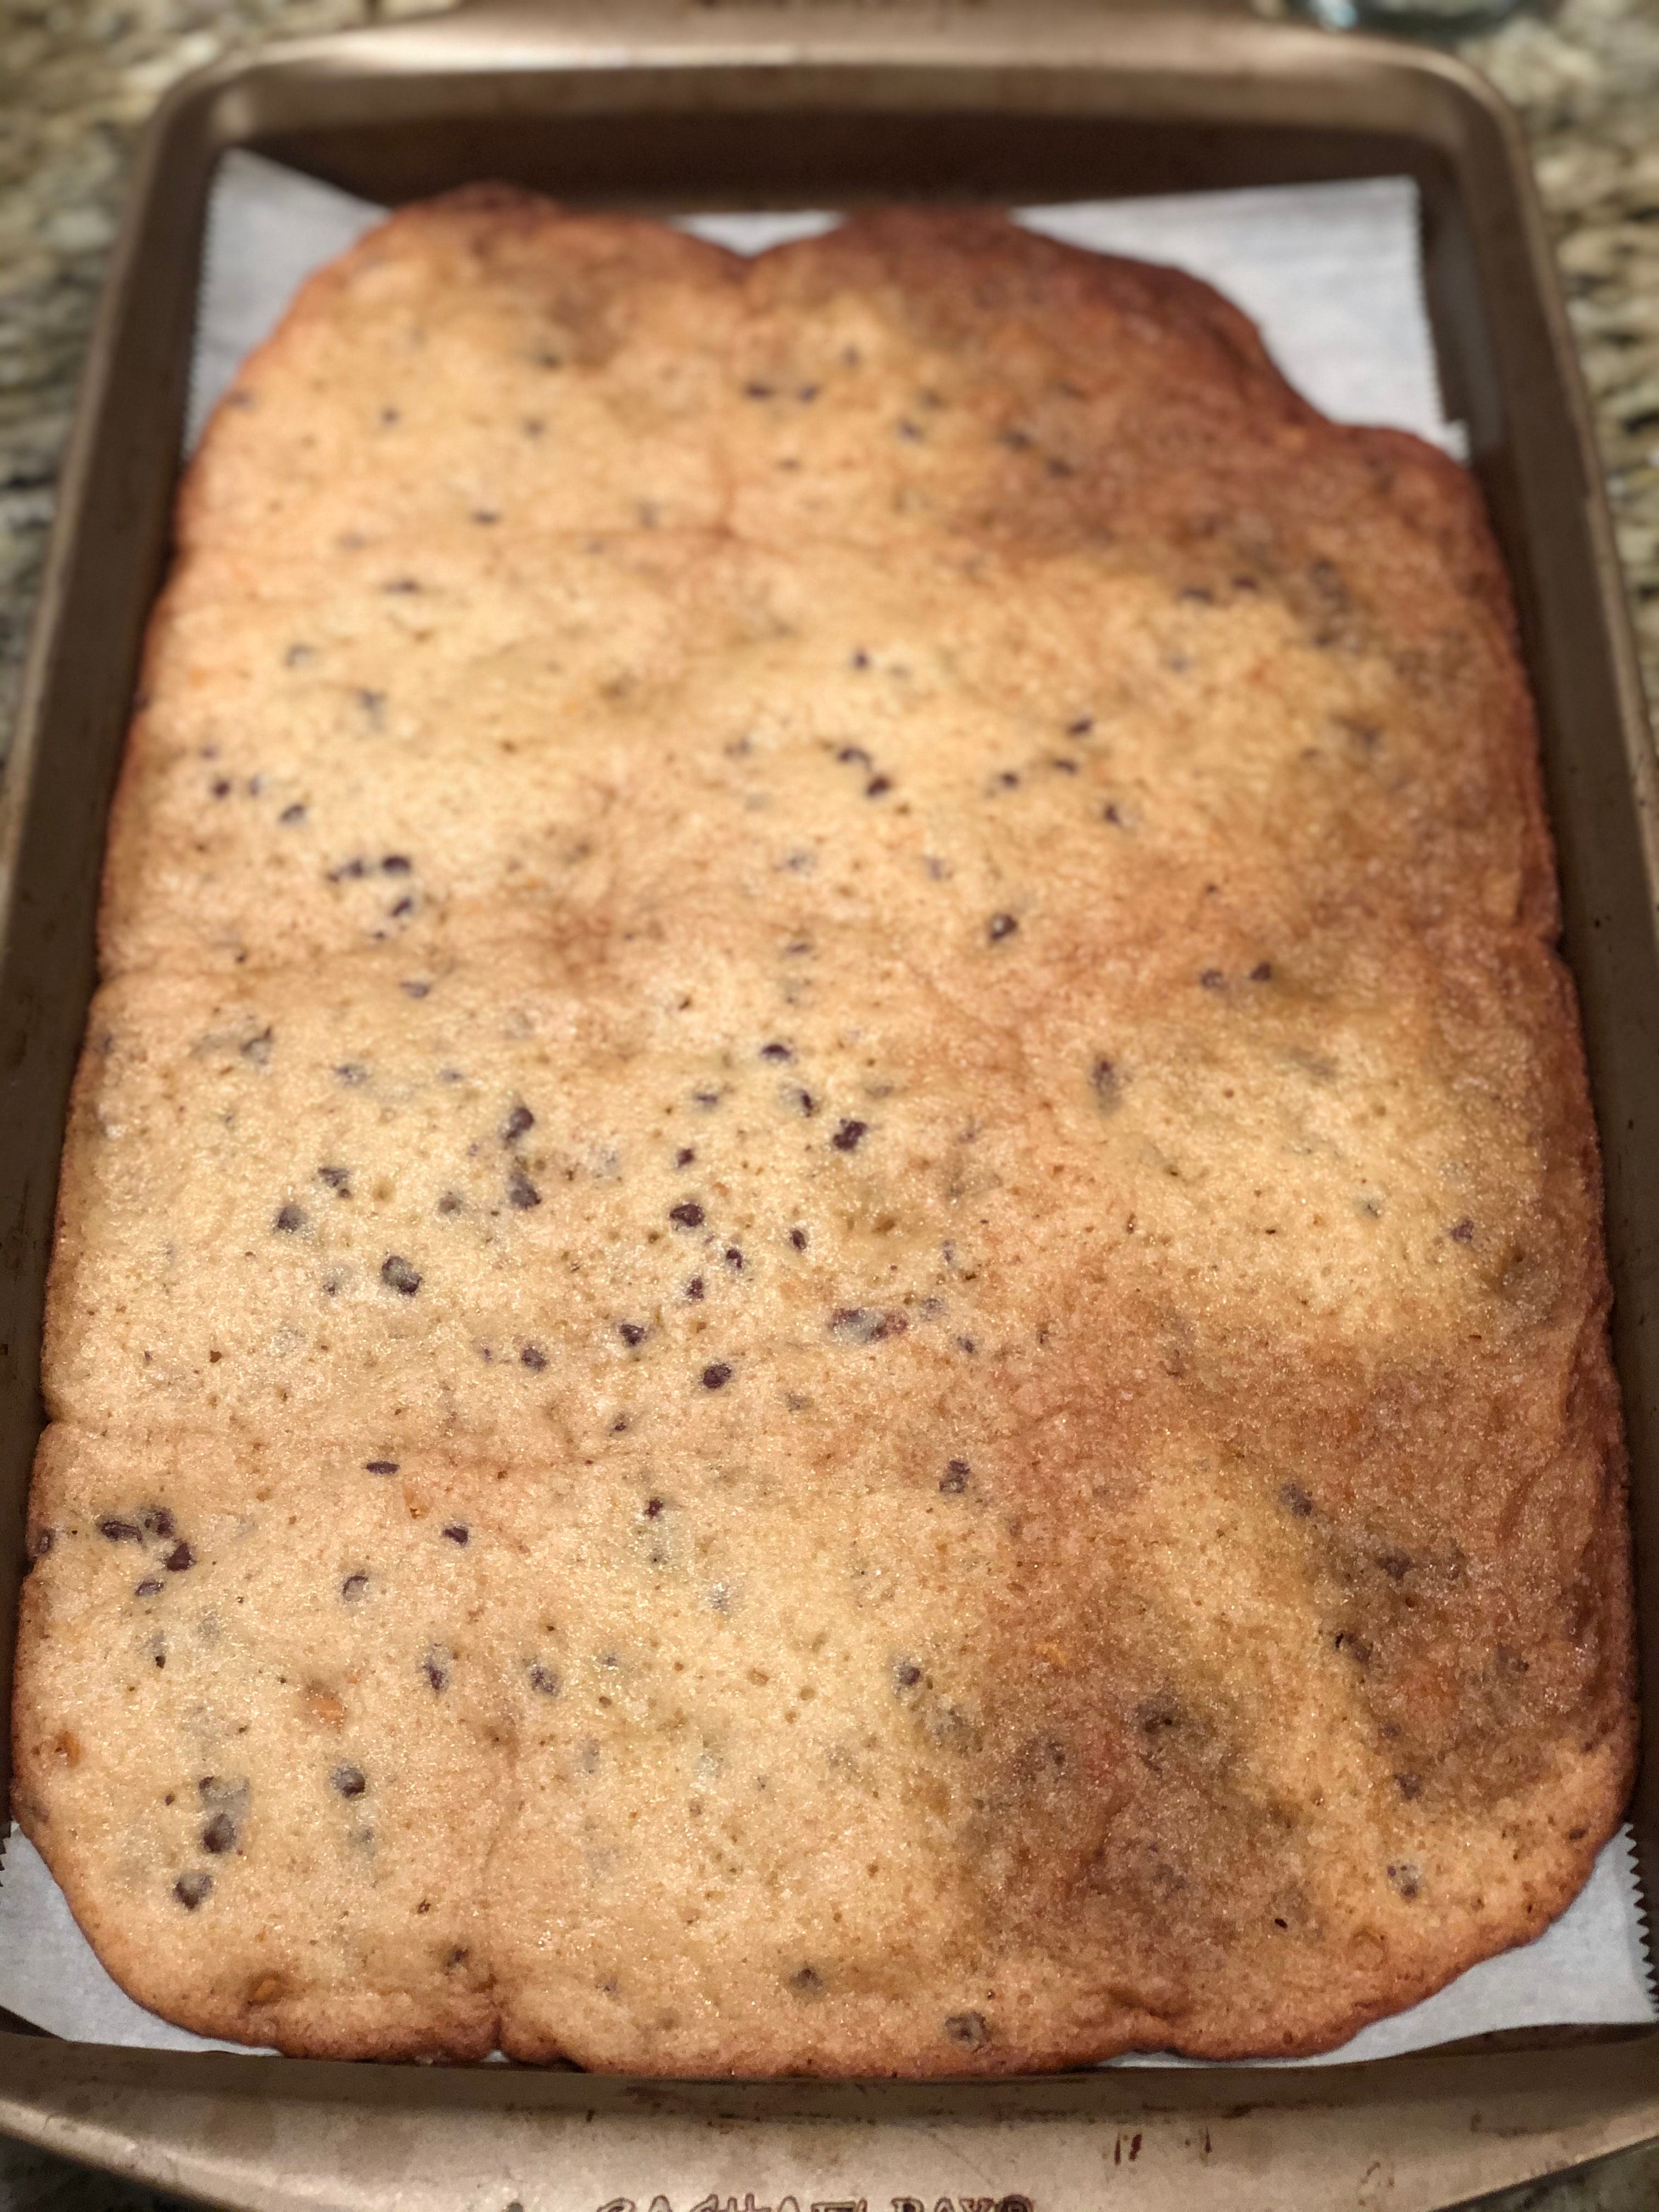
The End Result
I baked these at 350 for around 18 minutes, and that is something I wouldn’t do again. My oven is wonky, so I would bake it at 375 like the compost cookie was in an effort to prevent the spreading.
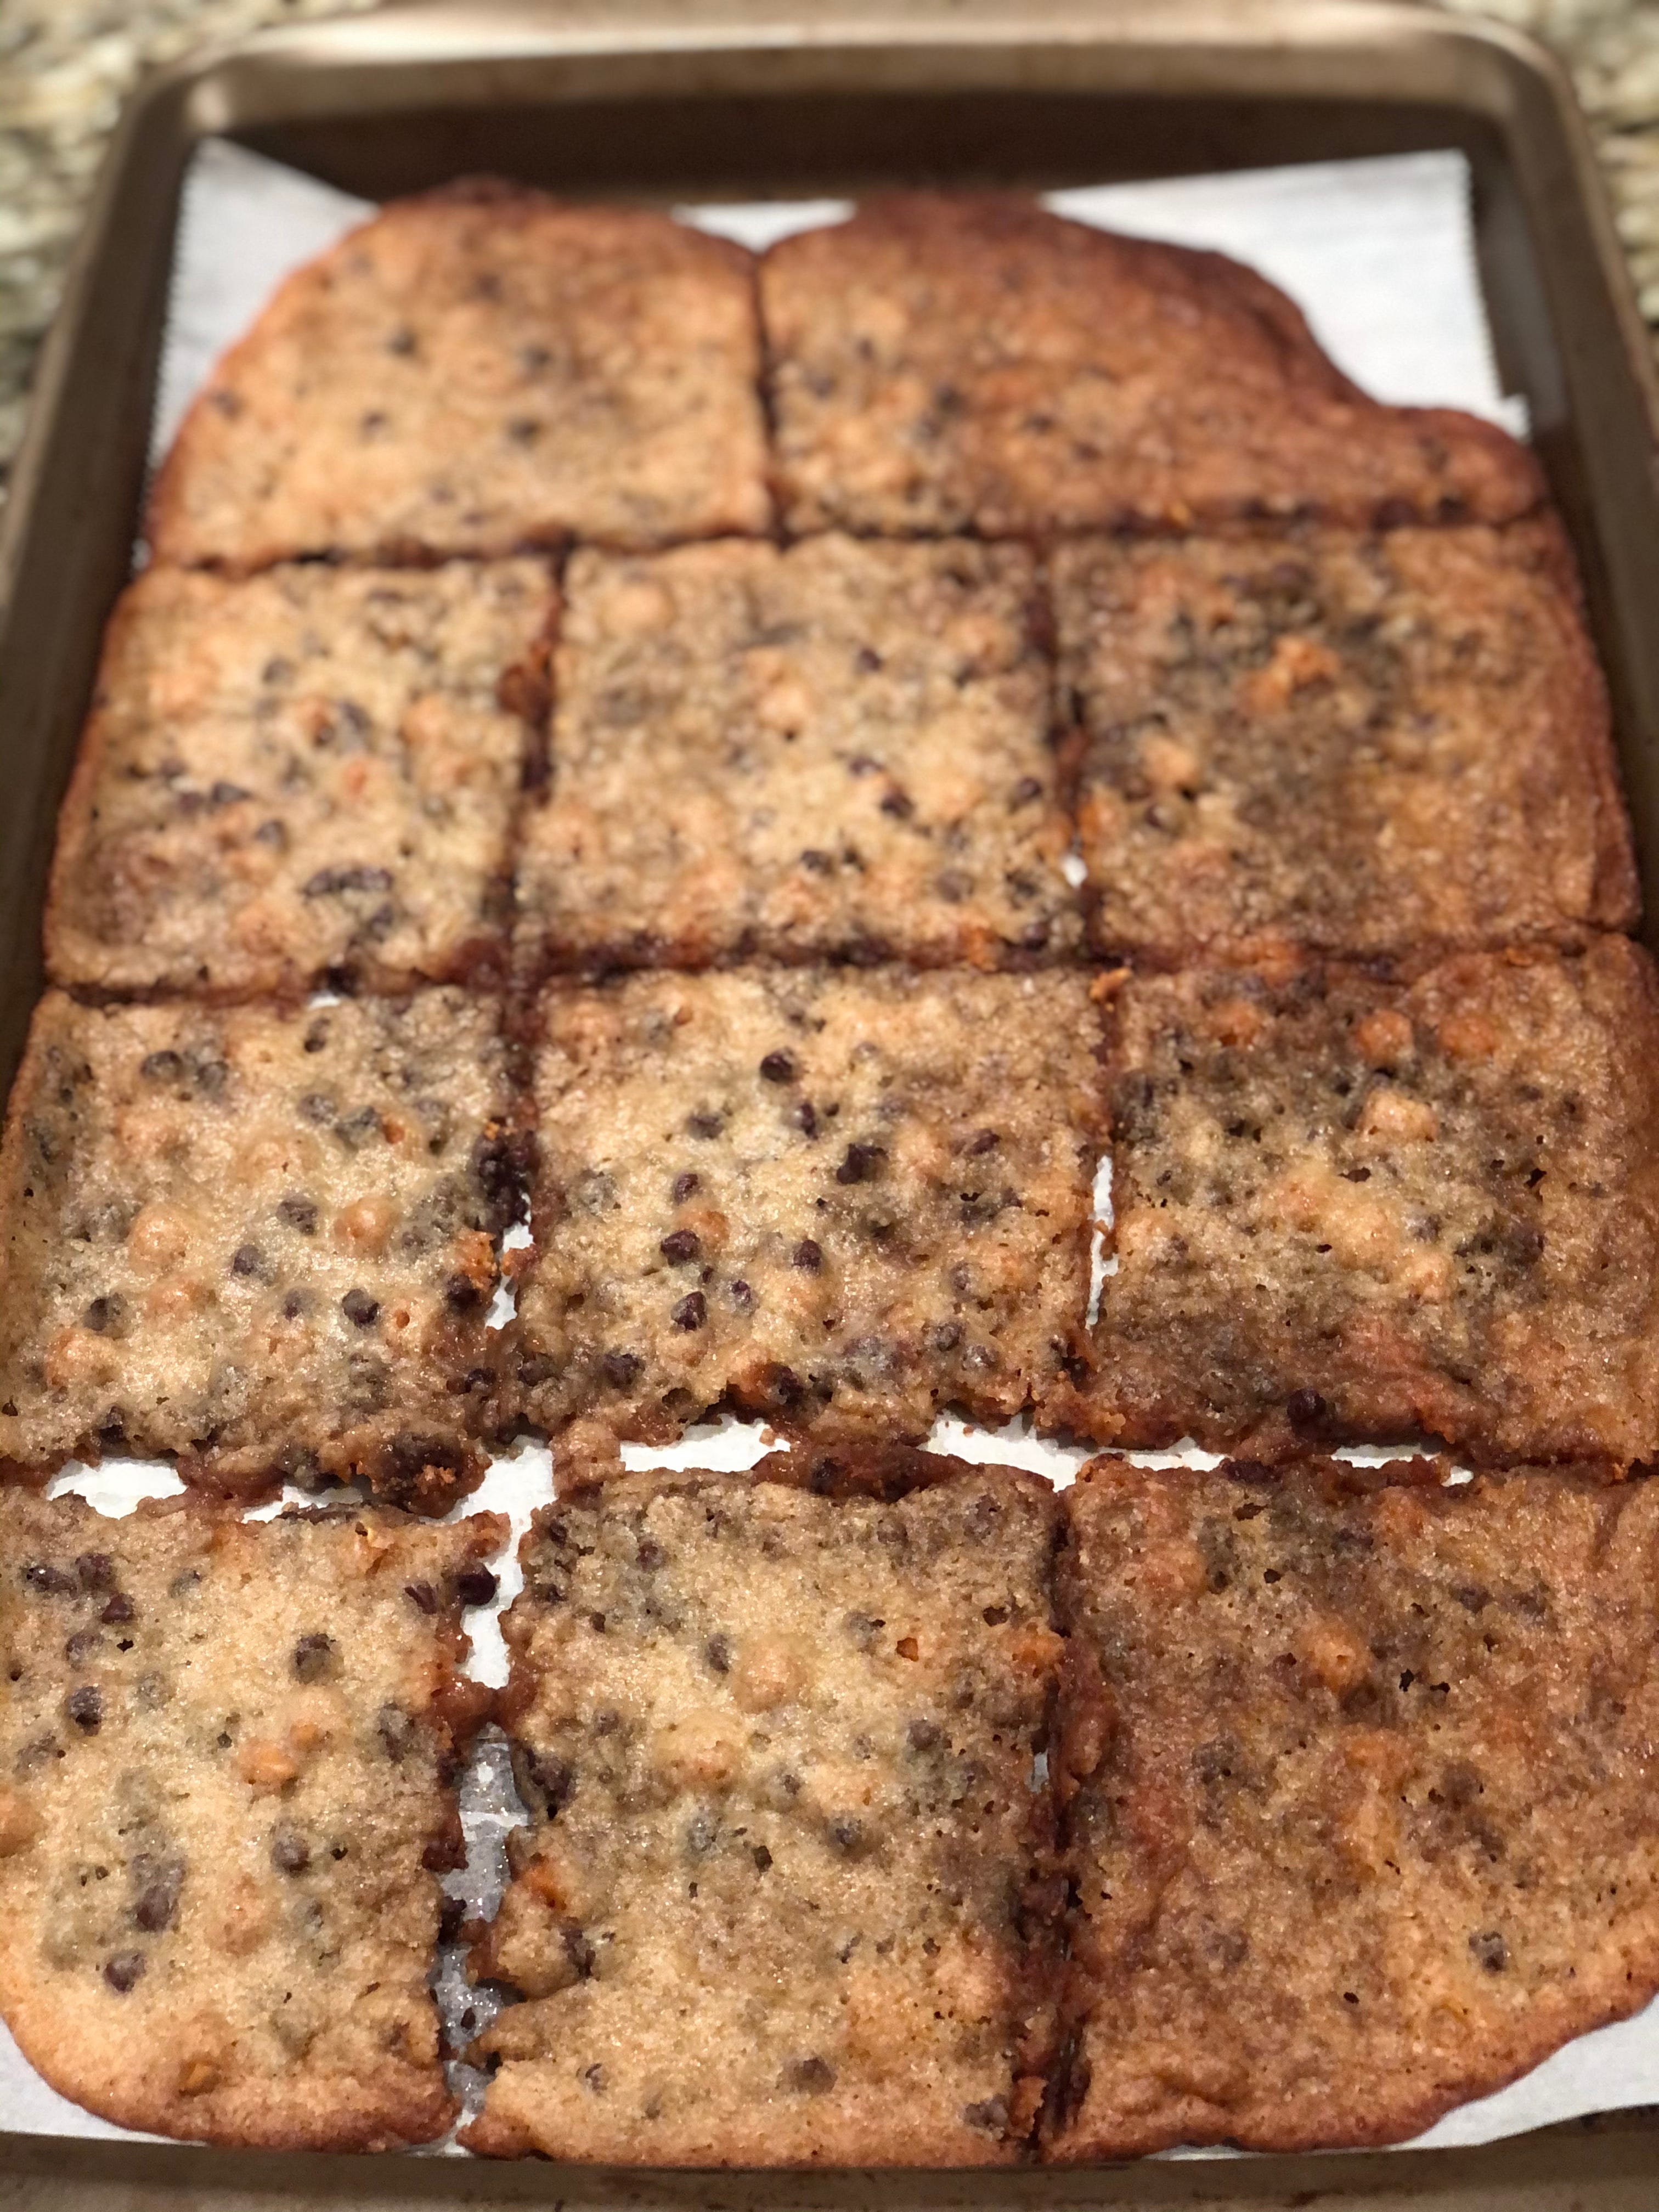
My lack of focus when doubling my recipe and possibly the oven temperature both played a role, but even if the end result was something ugly it was still pretty delicious.
Thanks for joining me for another edition of Baked w/ Nick! Follow @BakedwNick on Instagram for behind the scenes of how these bakes go and even more baking content! We just passed 100 followers and I’m hoping it leads to more subscriptions to the newsletter too!
Next week we are hopefully going to go back to something more mistake-free, but we shall see!